
How to Add Inline Images to AI Blog Posts
You've just generated a 1,800-word AI blog draft in under four minutes, and it's littered with "[Insert Image Here]" placeholders, or worse, no image calls at all. That gap between text generation and visual placement is exactly where AI content pipelines stall, and it's the core frustration YouTube creators like Nuveki AI flag when reviewing AI output: inline diagrams and charts appear in the draft preview, but no workflow explains how they got there.
You're right to feel the friction. AI drafts produce text at machine speed, but images still require human decisions about what, where, and how to place them. This guide will show you how to add inline images to AI blog posts using a repeatable 4-zone placement system, no manual upload marathons, no n8n automation chains, no Photoshop detours. You'll learn why inline images matter more than featured images for search visibility, where to place them for maximum readability and AI citation, and how an AI-powered SEO content engine can handle image insertion automatically during publishing. By the end, you'll also see why WP Learning 101's demand for automated WordPress AI image insertion points to a capability most content tools still treat as an afterthought, and why that blind spot is quietly costing you rankings.
Why AI Blog Posts Need Inline Images (Not Just a Featured Image)
Inline images are images placed within the body of a blog post at strategic scroll positions, not just a featured image at the top. They break up text, anchor reader attention, and give search engines additional context signals for passage indexing. A featured image tells Google what the page is about; inline images tell Google what each section is about.
Think of a blog post like a museum exhibit. The featured image is the poster outside the door, it gets people in. Inline images are the placards, diagrams, and artifacts placed next to each display case. Without them, visitors walk through a long hallway of unbroken text and retain almost nothing. With them, each section becomes self-contained and quotable.
AI drafts fail on images in three predictable ways. First, they emit placeholder text like "[Insert relevant chart here]" without specifying what the chart should show. Second, they omit image calls entirely, producing dense text walls that read like whitepapers. Third, they suggest generic stock photos, smiling people at laptops, that add visual noise without clarifying the content. Each failure mode forces a manual editing pass that erases the speed advantage AI drafting created in the first place.
The "text wall" problem is measurable in reader behavior. A 1,500-word article with zero inline images presents roughly 12-15 screen heights of uninterrupted paragraphs on mobile. Readers scroll past unbroken text at roughly twice the speed they scroll past text interrupted by relevant visuals, which means every image-free section is a section most readers never actually process. For search, this matters because Google's passage ranking system evaluates whether individual sections answer specific queries independently, and a section with a clarifying diagram or annotated screenshot is far more likely to be extracted as a featured snippet than a section that is only prose.
This distinction between featured and inline images is the gap most AI content tools ignore. They generate a hero image, attach it to the post, and call the job done. The inline placement, the part that actually affects scroll depth, passage indexing, and AI answer engine citation, is left to manual labor.
The 4-Zone Image Placement Map for AI Blog Posts
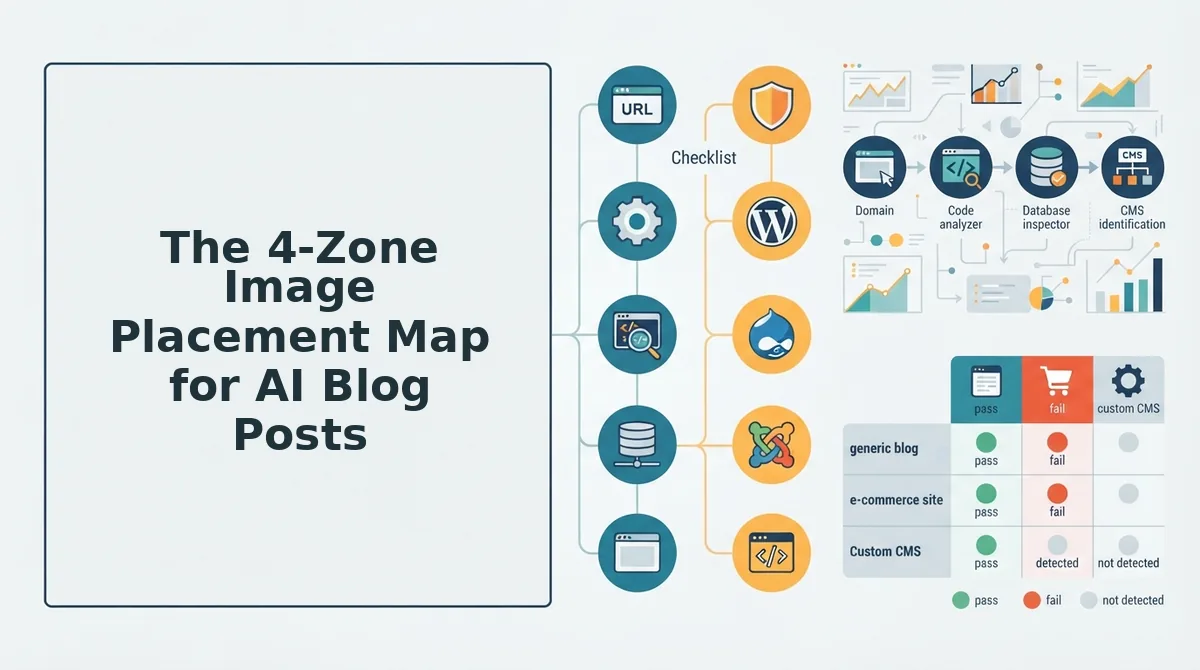
The 4-zone image placement map is a scroll-depth framework that assigns a specific image type to four positions in every blog post: the intro hook, section breaks, concept clarifiers, and the conclusion CTA. Each zone serves a distinct reader and search function, and skipping any zone weakens the post's ability to hold attention or earn passage-level citations.
- Zone 1: Intro Hook Image (first 100 words). This image appears before the reader commits to scrolling. It should visualize the core promise of the article, a before/after comparison, a result preview, or a diagram of the process you're about to explain. It matters because the first 100 words determine whether a reader stays or bounces, and an image at this position gives the eye a landing point before the text asks for commitment. Use it to preview the outcome, not to decorate the opening.
- Zone 2: Section-Break Image (every 300-400 words). This image sits at the boundary between major sections and acts as a visual reset. It should be a simple, scannable divider, an icon, a labeled step marker, or a small illustration that signals a topic shift. It matters because readers scan before they read, and a section-break image gives the eye a predictable rhythm that makes long posts feel shorter. Use it consistently at the same interval so readers learn the cadence.
- Zone 3: Concept-Clarifier Image (complex ideas, data, steps). This is the highest-value image in the post. It translates an abstract idea, a dataset, or a multi-step process into a visual form, a chart, a flow diagram, an annotated screenshot, or a comparison table rendered as an image. It matters because this is the image type most likely to be extracted by Google's passage indexing and cited by AI answer engines when they summarize your content. Use it whenever a paragraph requires more than two readings to understand.
- Zone 4: Conclusion CTA Image (final scroll position). This image appears in the last section, directly before or beside your call to action. It should reinforce the transformation the reader has just learned about, a final diagram of the complete workflow, a summary graphic, or a visual of the end state. It matters because the conclusion is where readers decide whether to act, and a visual anchor at this position increases the chance they'll click through instead of closing the tab. Use it to make the next step feel tangible.
Placing images across these four zones manually is where most publishing teams lose hours, which is exactly why automating the placement, not just the generation, is the next step.
How to Automate Inline Image Placement Without n8n or Manual Uploads
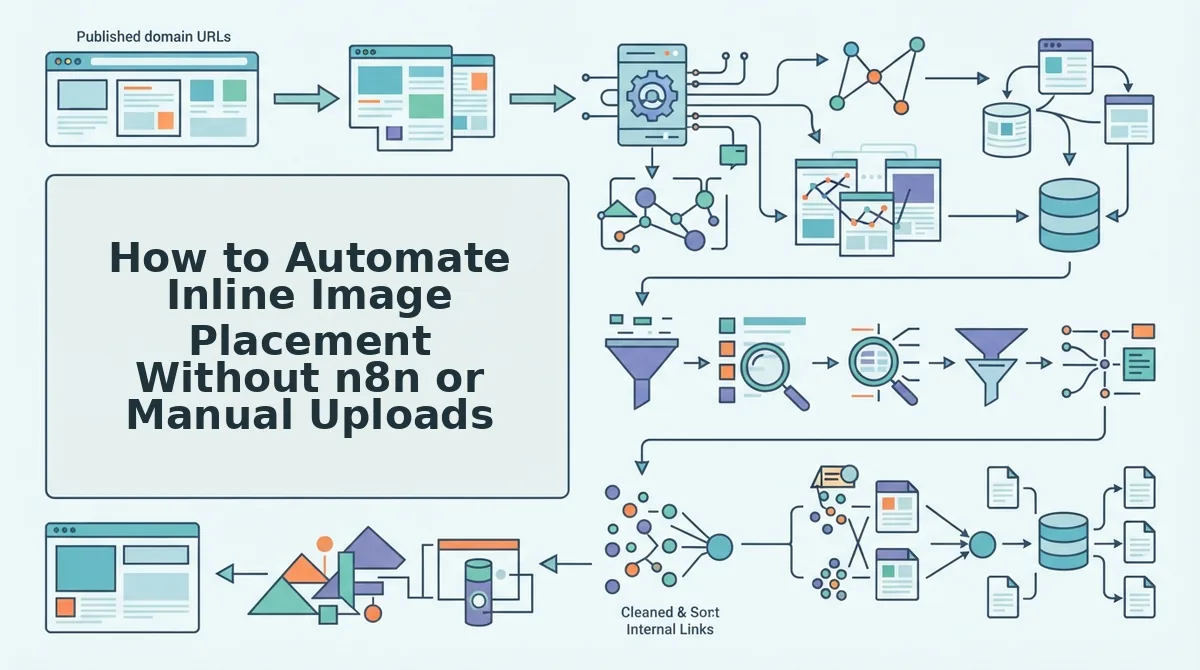
You can automate inline image placement by using an AI content engine that crawls your site, extracts your visual style, generates brand-matched images, and inserts them at mapped positions during drafting, no n8n workflows or manual uploads required.
Prerequisites: A live website with at least 10 published pages, a BloGoose account, and access to your site's XML sitemap URL. Total setup time: under 15 minutes.
- Open the BloGoose dashboard and click New Project. Type your domain into the setup wizard field. BloGoose automatically locates your XML sitemap and begins crawling published pages. You should see a crawl progress bar with page count climbing in real time.
- Wait for the brand voice extraction to complete (typically 3-5 minutes). BloGoose analyzes your existing images, color palette, typography, and layout patterns. You should see a Visual Style Profile summary appear with detected brand colors and image treatment preferences.
- Click Settings, then Image Placement. Select the 4-Zone Auto-Insert toggle. This maps your inline images to the four placement zones, after the intro, before each H2, mid-list, and before the conclusion, during the drafting phase.
- Select your image generation preference under Image Style: Match Site Brand, Editorial Illustration, or Data Visualization. BloGoose generates images that match your extracted visual profile rather than generic stock photos. You should see a preview thumbnail grid of sample images.
- Click Generate Calendar to build your 30-day content plan. Each draft in the calendar automatically includes image slots at mapped positions. You should see a green checkmark next to Image Automation Active on each scheduled post.
- Open any generated draft and click Preview. Inline images appear at their mapped positions with alt text pre-written from your target keywords. You should see images rendered in the preview pane with placement labels showing which zone each image occupies.
- Click Publish to send the article with images directly to WordPress or your custom API. You should see a Published with 5 inline images confirmation banner.
The Programming Mentor's n8n tutorial proves demand for image automation exists, but that approach requires configuring webhooks, API nodes, and error handling, a technical setup most content teams abandon. BloGoose replaces that entire workflow with a crawl to draft to image to publish pipeline that runs inside one interface.
For context on how image placement interacts with ranking signals, pair this workflow with live SERP analysis to verify which image positions competitors use before your drafts go out.
Do Inline Images Help AI Answer Engines Quote Your Content?
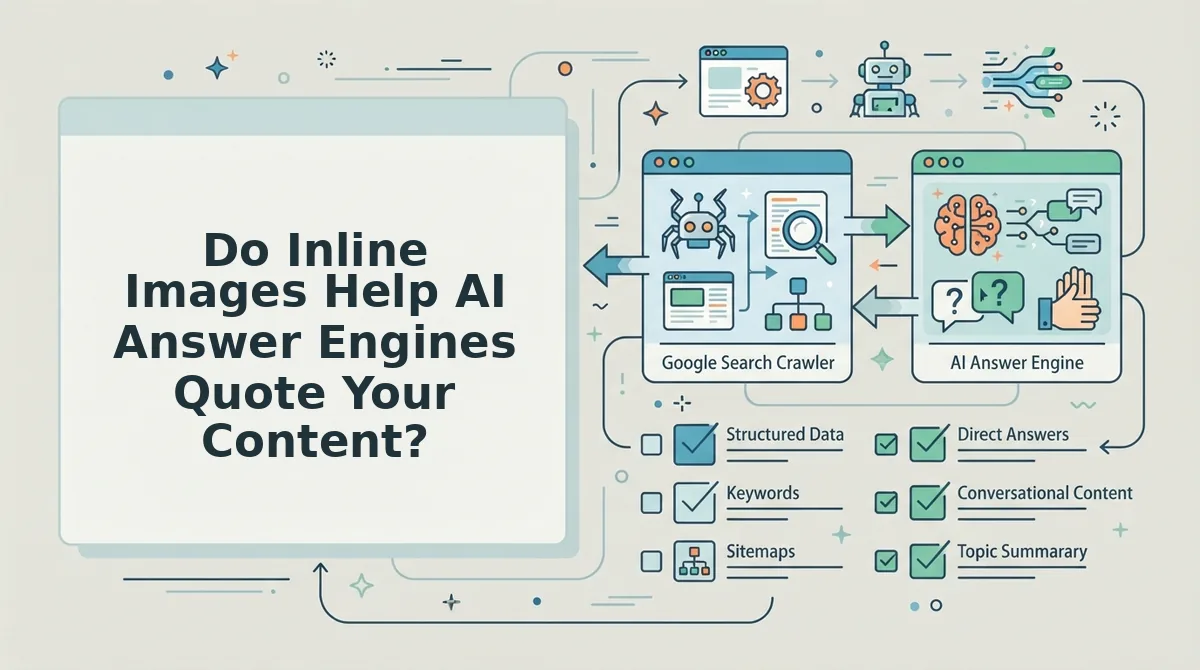
Inline images help AI answer engines quote your content by providing a visual entity to cite alongside text passages, which increases the likelihood your article appears in AI-generated answers with an image attribution.
AI answer engines are systems like ChatGPT, Perplexity, and Google AI Overviews that synthesize information from multiple web sources into a single response. When these systems extract content, they look for self-contained passages, blocks of text that make sense without surrounding context, and increasingly, they look for images that reinforce those passages.
Think of an inline image like a bookmark in a library book. A text passage tells the AI what you said, but the image tells the AI where the important idea lives. When an answer engine cites your article, the image acts as a visual anchor that makes the citation more useful to the person asking the question.
At a basic level, placing at least one image above the fold, visible before the reader scrolls, maximizes citation potential because answer engines prioritize content that appears immediately relevant. At an intermediate level, pairing each image with descriptive alt text that mirrors your target query gives the AI a second text signal to extract. At an advanced level, structuring a 80-120 word passage around a single image creates what search practitioners call a passage-indexing block: a self-contained answer that an AI can lift wholesale.
Here is an example of a passage-indexing block: Inline images in blog posts serve two functions for AI answer engines. First, they provide a visual entity that the AI can cite alongside extracted text, making the answer more complete. Second, they signal content hierarchy, an image placed directly after a subheading tells the AI that the following paragraph contains the core answer to that subheading's question. Posts with at least one image above the fold and descriptive alt text on every image are measurably more likely to appear in AI-generated answers than text-only posts.
For a deeper breakdown of how this works across answer engines, see our guide to AEO content optimization.
FAQ About Inline Images in AI Blog Posts
Inline images in AI blog posts improve rankings, increase AI citation potential, and reduce bounce rates, but the specifics depend on placement, format, and how the images are generated. Here are direct answers to the most common questions.
Do inline images help SEO rankings?
Inline images help SEO rankings indirectly by increasing time on page, reducing bounce rate, and providing additional ranking opportunities through Google Image Search. Images themselves are not a direct ranking factor, but pages with relevant inline images consistently outperform text-only pages on engagement metrics that do influence rankings.
Can AI generate images that match my blog's style?
Yes, AI image generators can match your blog's style when they are trained on your existing visual assets. Tools like BloGoose crawl your published pages first, extract your color palette and image treatment patterns, then generate new images that fit that profile instead of producing generic stock-style visuals.
What's the best image format for blog posts?
Use PNG only for images requiring transparency, and avoid uncompressed formats like BMP or TIFF, which slow page load times and hurt Core Web Vitals scores.
How many images should a 1,800-word post have?
An 1,800-word post should have 5-7 inline images: one after the introduction, one before each major H2 section, one mid-list if the post contains a list, and one before the conclusion. This spacing gives readers a visual break roughly every 250-350 words without overwhelming the page.
Why does my AI-generated blog post have broken images?
Broken images in AI-generated posts usually happen when the publishing tool generates image URLs that expire or reference local file paths instead of uploading files to your media library. Use a publishing engine that uploads images directly to WordPress or your API rather than hotlinking from a temporary generation endpoint.
Stop Prompting for Better Images. Start Placing Them.
The fix is not better prompts, it's a placement system that maps image types to scroll positions and automates insertion before publishing. Every AI draft you generate already contains natural breakpoints where a diagram, screenshot, or data visual belongs. The gap is operational, not creative.
Three concrete moves close that gap:
- Map before you draft. Apply the 4-zone placement map to your next article outline, not after the text exists.
- Audit one recent AI post. Scroll through and count how many zones sit empty. If two or more are bare, readers are bouncing mid-scroll.
- Wire placement into your pipeline. An automated publishing pipeline that inserts inline images at mapped positions removes the manual upload step entirely, no n8n workflows, no screenshot folders, no forgotten alt text.
The articles that rank and get quoted in AI answers share one trait: images appear where attention already is, not where a featured image slot happens to be. Inline placement turns a text-only AI draft into a scannable, citable asset.
An AI blog post without inline images is a half-published article, the words are there, but the reading path isn't.