How an AI Blog Generator With Direct WordPress Publishing Works
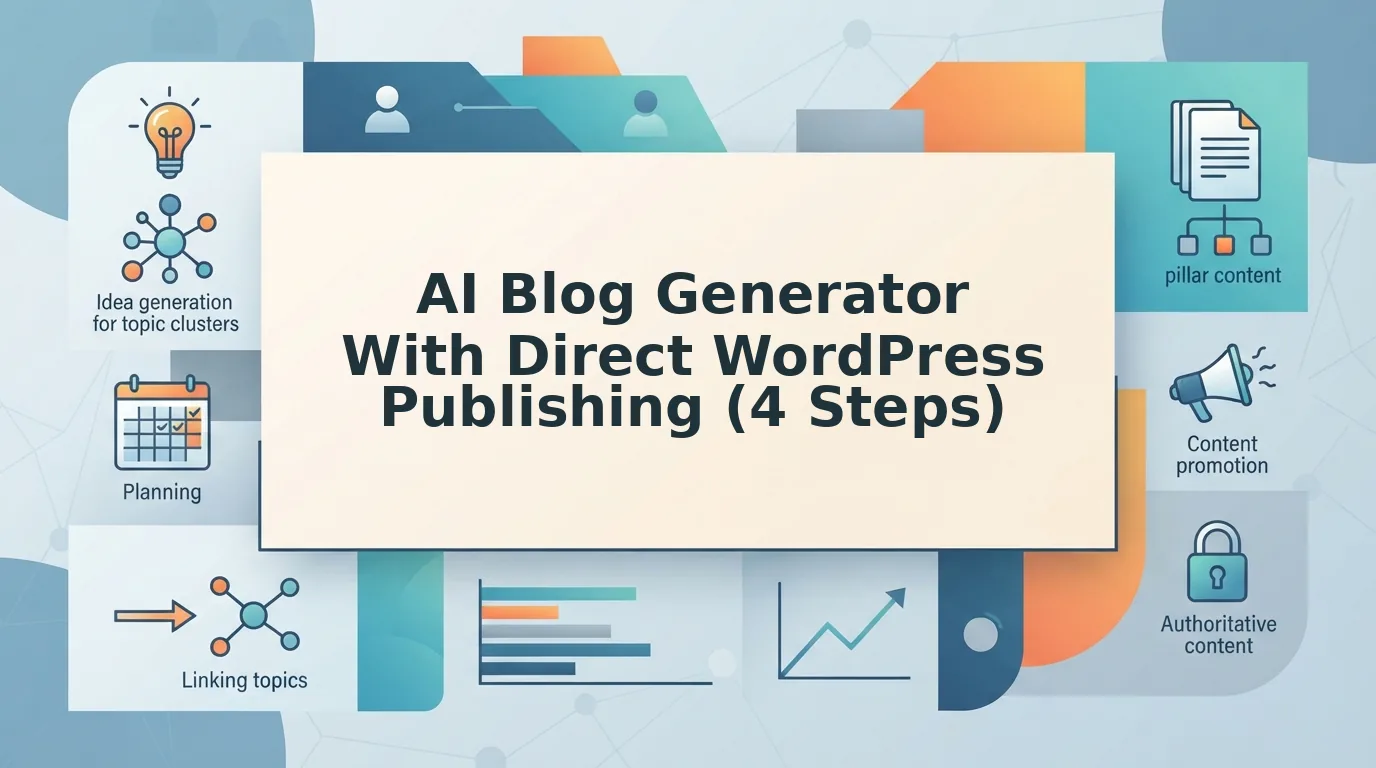
Your article looks finished in the chat window. Then you paste it into WordPress, the headings flatten, the images vanish, and the publish button is still an hour away.
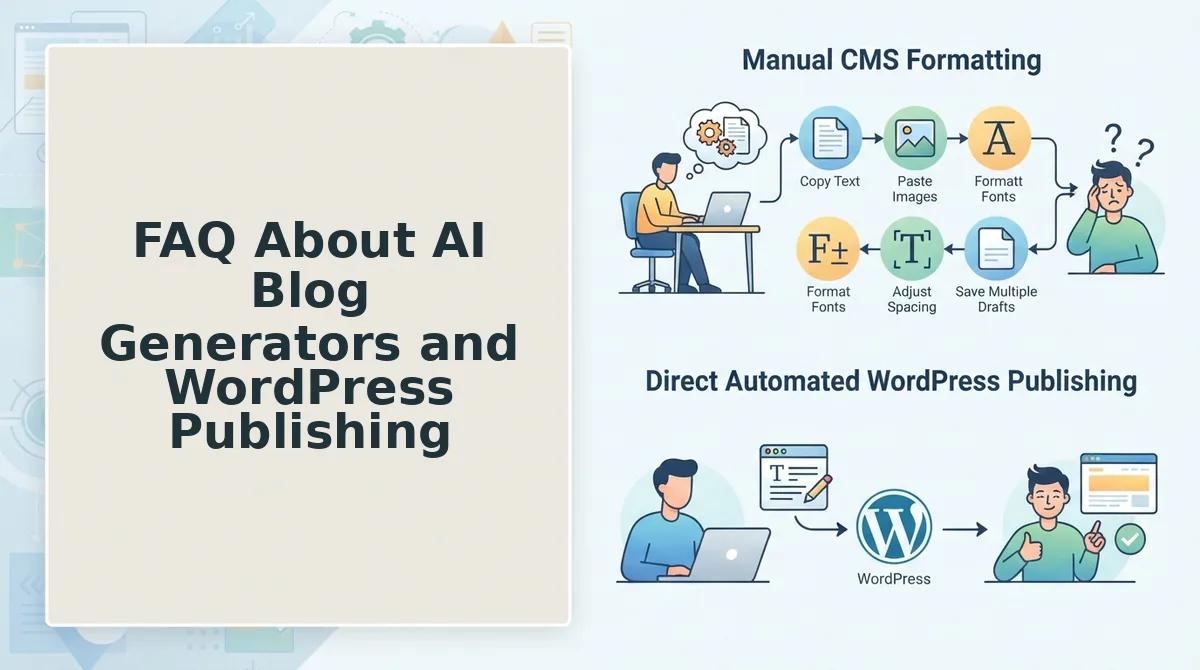
You already know that feeling. The tool said "export," and what it meant was "copy this" â an article generated in a chat tool and pasted into the WordPress editor arrives with broken heading levels and no images at all, so the "done" draft still needs uploads, alt text, and categories before a reader ever sees it.
This guide covers what an AI blog generator with direct WordPress publishing does differently: the four prerequisites it needs, the five API calls behind a single publish button, and the workflow that keeps formatting and images intact. It also itemizes the roughly 10 manual steps hiding behind the word "export," and which ones a real publish pipeline removes. BloGoose, an AI SEO content engine, is built around that handoff.
What Direct WordPress Publishing Means and What You Need First
Direct WordPress publishing is when a tool writes the finished article into your site itself â post, media, and status â instead of handing you a file to move.
Export means you carry the file across; push means the tool creates the record inside WordPress. Think of emailing a document to a print shop versus finding it already mounted in the display rack, labeled.
Four conditions have to be true before any tool can publish for you:
- The REST API is reachable on your host.
- Your user account has author or editor rights.
- An application password exists â WordPress generates one per user on the profile screen, and you can revoke it without touching the main login.
- Target categories and tags already exist, because the API references them by ID.
Formatting built for citation survives the handoff when it is pushed rather than pasted â the same discipline AEO content optimization demands in the draft itself, and the reason BloGoose ships finished posts straight to WordPress or a custom API.
In short: direct publishing replaces the clipboard with an authenticated API call, and it needs a reachable REST API, a user with publishing rights, a revocable application password, and pre-built taxonomy terms.
How an AI Blog Generator Publishes to WordPress Step by Step
An AI blog generator publishes to WordPress by calling the REST API: it authenticates with an application password, uploads the featured and inline images to the media library, then creates the post with its title, HTML content, media ID, categories, tags, and status. The API returns a post ID and URL that confirm the publish.
- Generate the application password. Open Users, then Profile, scroll to Application Passwords, name a credential for the generator, and copy it once. You should see it listed and revocable on its own. (1 minute)
- Upload the images first. Send each file to the media library and record the returned ID for the featured image and every inline image. You should have one numeric ID per file. (2â4 minutes, depending on file size)
- Rewrite the image URLs in the HTML. Point every image tag at the uploaded file URLs before the post exists, so nothing renders broken. You should see image tags resolve in preview.
- Create the post in one request. Send title, content, featured media ID, categories, tags, and status â draft, pending, publish, or future for scheduled posts. You should get a response containing the new post ID.
- Read the response. Open the returned link and check headings and images against the draft. You should see the post live, or sitting safely in draft as intended.
Pro tip: create a dedicated application password for the generator so you can revoke it alone, and start new sites on draft status so the first posts still get a human pass.
Most publish failures come from one of those calls, not from the writing. An authentication error means the application password was revoked or copied with a stray space. A media upload failure usually signals a file type or size the site rejects. A missing category ID throws an error because the API references terms numerically, so the term has to exist before the post does. If your SEO plugin's meta fields never arrived, they likely are not exposed to the REST API yet â a plugin setting, not a generator bug. Every one-click tool runs the same authenticate, upload, create, set-status sequence; when it breaks, read the error and retry that call.
Once the mechanics are clear, the real question is what a tool that stops at "export" still leaves on your plate.
Which Manual Steps Do Draft-Only AI Tools Leave Behind?
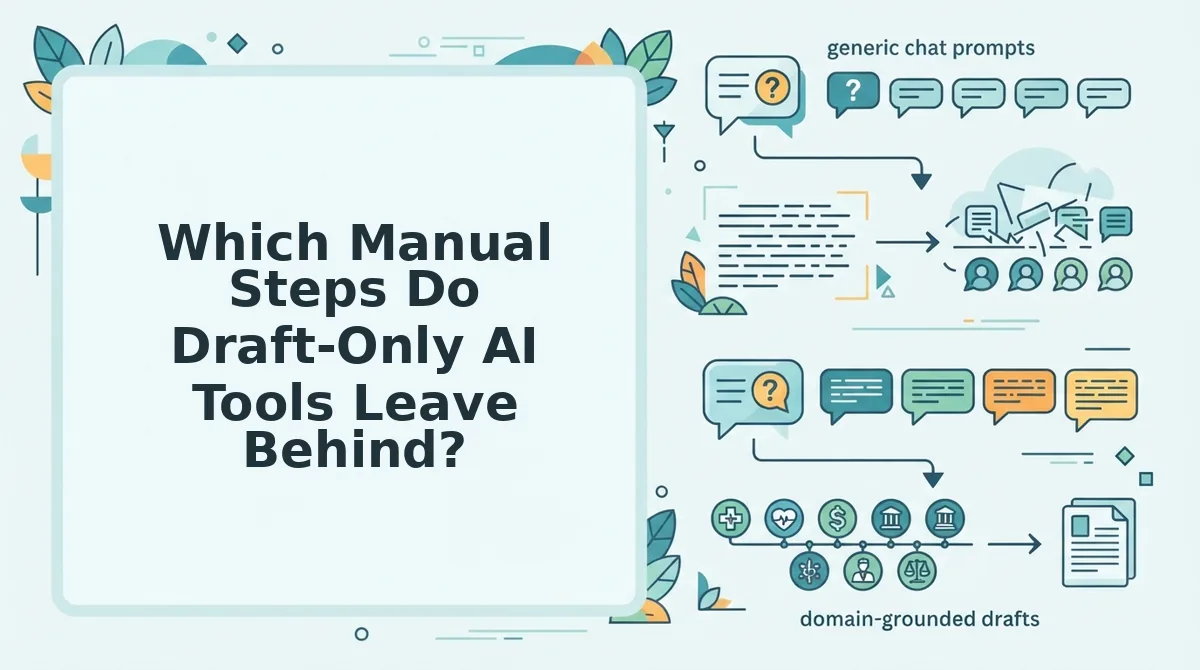
Draft-only AI tools leave ten last-mile tasks between a finished draft and a live post. Each task is small, but repeated across a monthly calendar they become a recurring workload.
- Copy the draft. You export or select the text from the tool. This is the first handoff where formatting can break.
- Paste into WordPress. You paste into the block editor. Pasted content often arrives with stray styles or merged blocks.
- Reformat headings. You check H2 and H3 levels by hand. A broken heading structure weakens both readability and passage extraction.
- Upload the featured image. You add it in the media library. Without it, archive pages and social shares look empty.
- Upload inline images. You insert each image at its spot in the body. Each one is a separate manual upload.
- Write alt text. You describe every image. Alt text supports accessibility and image search.
- Set categories and tags. You assign the post to the right taxonomy. This keeps topic clusters connected.
- Set SEO meta. You fill in the title tag and meta description. These control how the post appears in results.
- Schedule. You pick a publish date. A consistent cadence keeps the calendar on track.
- Request indexing. You submit the URL for crawling. This helps search engines find new posts sooner.
| Approach | Who handles the 10 steps |
|---|---|
| Draft-only tool | You do all 10 |
| Plugin | Varies by plugin settings |
| n8n build | Any step you build a node for |
| Integrated engine | Publishing and images are built in |
Worked example #2: An n8n workflow, as shown in a Tech Area video, chains an AI generation node, a WordPress media upload node, and a create-post node. DIY automation works, but you maintain every node whenever an API or credential changes.
How Featured Images, Inline Images, and Custom APIs Fit In
Images publish with a post only when they are uploaded first and then referenced by the article. The upload step returns an ID or URL, and the post points to it.
Media attachment is the process of uploading a file to the CMS and linking it to a post. Think of it like a coat check: you hand over the coat, receive a ticket, and use the ticket to claim it later.
Featured images
The featured image path runs in three steps: upload, receive a media ID, then set featured_media (the WordPress field that stores the post's main image) to that ID.
Inline images
Inline images follow a different path: upload, receive a URL, then insert an img tag with alt text in the body. Run generated images through an image SEO checklist for generated images before they go live.
Custom APIs
Publishing to a non-WordPress CMS works through a custom API endpoint, which is a URL on your site that accepts incoming content. The endpoint receives one structured payload containing the title, slug, HTML or Markdown body, featured image URL, inline image URLs, categories, and meta fields. Your CMS then maps each field to its own template, so the same finished article can publish to WordPress or any custom-built site without manual copying.
If uploading media by hand is your bottleneck, BloGoose publishes finished articles with their images directly to WordPress or your custom API.
Plugin vs n8n vs Integrated Engine for WordPress Auto-Publishing
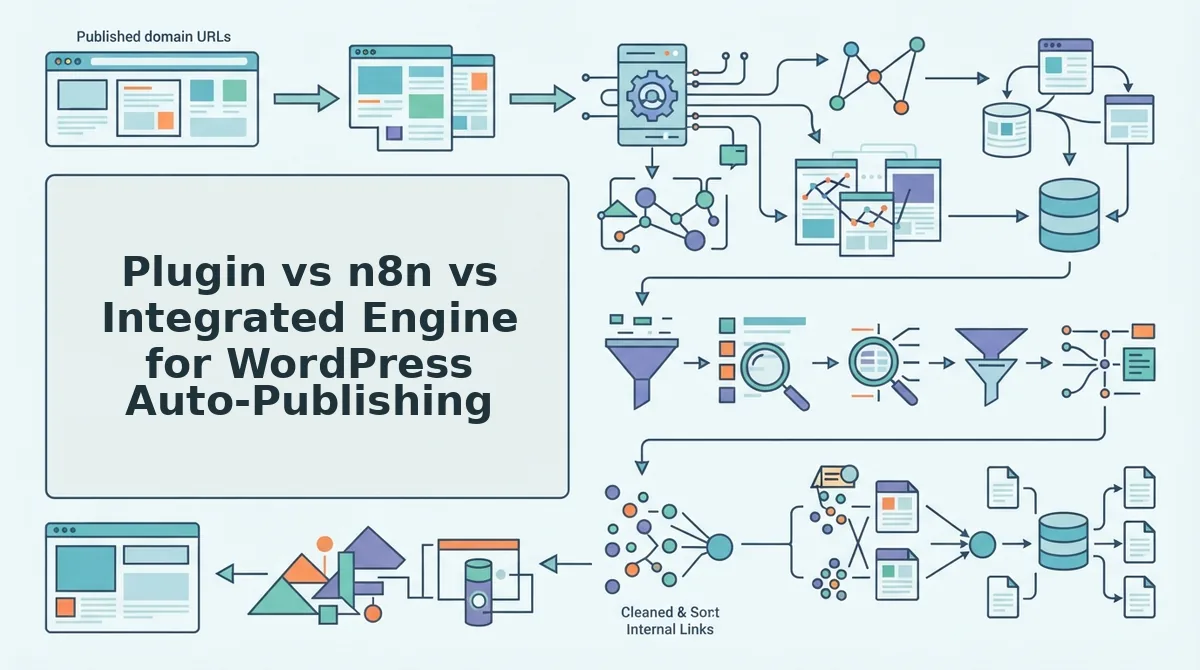
A plugin is fastest to start, n8n is most flexible, and an integrated engine removes the most ongoing maintenance. The right choice depends on how much of the pipeline you want to build and maintain yourself.
| Criteria | Plugin (e.g., MyContentCreatorPro) | n8n workflow | Integrated engine (BloGoose) |
|---|---|---|---|
| Setup effort | Low, installs inside WordPress | High, you wire each node | Low, starts from a site crawl |
| Ongoing maintenance | Another plugin to update | You own the nodes, prompts, and error handling | Handled within the platform |
| Brand-voice grounding | Depends on your prompts | Depends on your prompts | Learns voice from your site |
| Image handling | Varies by plugin | Whatever you build | Publishes with images |
| Custom API support | Tied to WordPress | Yes, if you build it | WordPress or custom API |
| Where review happens | WordPress admin | Wherever you add a review step | Inside its workflow |
Plugin: Best for solo WordPress operators who want to start this week. The trade-off is that it locks you into a single CMS.
n8n: Best for technical growth leads who want full, self-hostable control. The trade-off is that every API change becomes your fix.
Integrated engine: Best for publishers running a 30-day calendar who need consistent brand voice. The trade-off is that you work inside its workflow rather than a custom-built one.
Whichever path you choose, confirm that each post actually went live correctly.
How to Check an Auto-Published Post Actually Worked
Verifying an auto-published post takes about five minutes and eight checks, and it catches the failures a success message never reports. You need WordPress admin access (Editor role or higher), the post ID or URL from your generator's publish log, and Indexing API credentials if you plan to request indexing.
- Open Posts â All Posts and search the title (about 30 seconds). Confirm one entry exists with the status your tool reported â Draft, Pending, or Published â and no duplicate copy.
- Click Preview and scan the heading structure. H2 and H3 headings should render as real headings in your theme, not as bold paragraphs swallowed into body text.
- Select the Featured Image panel in the sidebar and confirm an image is attached. An image sitting in the Media Library but not set as featured media is the single most common gap.
- Scroll the article body and check that inline images load and each carries descriptive alt text in the Media Library's Alternative Text field.
- Verify categories, tags, and SEO meta fields in your SEO plugin's sidebar panel. Empty meta fields still publish cleanly, which is why they are easy to miss.
- Click every internal link in the post. Each should resolve to a live page without a 404 or a redirect chain.
- Read two paragraphs against your existing top pages and check the voice grounding before you switch status from Draft to Publish. Tone drift is invisible to every technical check above.
- Submit the live URL through the Google Indexing API â see request indexing after publishing â so the post enters the queue without waiting on a sitemap recrawl.
Worked example #3: a publishing team running the "12-tab content stack" â SERP research tool, chat window, image generator, manual CMS uploads â collapsed that loop into sitemap crawl â 30-day calendar â direct publish, using roughly the homepage positioning BloGoose describes. The eight checks above run identically whether a human or the engine triggered the publish.
FAQ About AI Blog Generators and WordPress Publishing
These are the four questions that come up most often once a team moves past the demo stage.
Is it safe to give an AI blog generator access to my WordPress site?
Yes, if you scope the credentials. Create a dedicated user with the Author or Editor role and connect it through an application password rather than your admin login, so you can revoke access at any time without changing your own password.
Can an AI blog generator schedule posts instead of publishing immediately?
Most can. Set the post status to future and pass a publish date with the request, and WordPress holds the article until that timestamp. Confirm your tool exposes both fields, not just a publish-now toggle.
Does an AI blog generator write alt text automatically?
Sometimes, but check it. Open two or three published images and confirm descriptive alt text was written for each one rather than left empty or filled with the filename. Missing alt text is invisible until an accessibility or image-search audit.
Does auto-publishing at volume risk a penalty for scaled content?
The publishing method is not the risk factor â unhelpful content produced at scale is. Automation that researches real search intent and adds original detail behaves differently from templated output. See scaled content abuse for where Google draws the line.
Ship Posts Without the Copy-Paste Loop
The finding worth carrying forward: the leftover work in AI publishing never sits in the writing. It sits in the last mile â the eight verification checks, the missing featured image, the empty meta field.
So treat the pipeline as four calls, not a stack: crawl the site, generate the calendar, publish with media and taxonomy attached, then request indexing. Audit your own last-mile steps against that list, and choose the path whose maintenance burden matches your team's tolerance â a plugin you patch, an n8n workflow you own, or an integrated engine that carries both.
Start the first article in draft, verify it, then flip it live. Begin with a BloGoose setup connected to WordPress or your custom API â see start publishing with BloGoose â and let the second post ship without you touching a browser tab.