
How to Generate Inline Blog Images That Break Up Text
You've just watched an AI draft a 2,000-word article in under a minute, and every third paragraph contains the same three words: [Insert Image Here]. Nuveki's video on AI content workflows calls this out explicitly, the placeholder problem that turns a promising draft into a formatting chore. Meanwhile, GravityWrite's 3,561-view tutorial on image generation reveals a quieter frustration: readers and writers alike are exhausted by endless scrolls through generic stock photos that say nothing.
You're right to feel stuck. Generating inline blog images that break up text shouldn't require a design degree, a stock photo subscription, or forty minutes of prompt tweaking per image. This guide gives you a placement rule you can apply in seconds, a decision matrix for choosing the right image type, and an AI workflow that automates the entire process, including publishing directly to WordPress or your custom API, the way BloGoose handles it.
Here's the roadmap: first, we'll define what inline images actually are and how they differ from featured images. Then, you'll learn exactly where to place them for maximum readability. Finally, we'll walk through generating them with AI step by step. Stick around for the placement rule, it's the one insight most content teams miss, and it changes how your articles perform in both search and AI answer engines.
What Are Inline Blog Images and How Do They Differ from Featured Images?
Inline blog images are visual elements placed within the body flow of an article at section transitions, serving to break up text, illustrate concepts, and guide the reader's eye through the content. A featured image is a metadata thumbnail that represents the article in listings and social shares; a hero image sits above the fold at the top of the page. These three serve different jobs, and conflating them causes layout problems.
Think of a featured image like a book's cover, it sells the article before anyone opens it. Inline images are more like the diagrams, photos, and pull-quotes printed inside the book's chapters: they exist to support reading, not to advertise the piece. Andy Park's 168K-view video on MS Word inline versus text-wrap positioning shows how much confusion the term "inline" causes, even among people who write daily. In Word, "inline" means the image sits on the same line as text and moves with it. In blogging, the term is looser: any image embedded in the article body, typically between paragraphs or at heading boundaries, counts as inline.
Here's the practical distinction that matters for SEO and AI answer engines. Featured images live in your CMS's metadata fields and rarely appear inside the article itself. Inline images live in the HTML body, which means they get indexed as part of the page content, crawled by Google's image bot, and quoted by AI answer engines that extract self-contained passages. AI answer engines quote articles with clear, self-contained passages, and an inline image with a descriptive alt tag and surrounding context strengthens that quotability. A featured image alone does not.
To summarize the hierarchy: hero images sit above the fold and set the visual tone; featured images are metadata thumbnails for external surfaces; inline images are body-level visuals placed at section transitions to break up text and support comprehension. Most publishing teams over-invest in hero and featured images while under-investing in inline placement, which is where readability and dwell time actually improve.

Where to Place Inline Images for Maximum Readability
Inline image placement follows one core rule: place one functional image per 300-400 words, positioned at H2 or H3 heading transitions, never mid-paragraph. This is the Section-Break Placement Rule, and it solves the two most common layout failures, walls of uninterrupted text and images that interrupt a sentence mid-thought.
Think of inline images like paragraph breaks in a conversation. A well-timed pause lets the listener absorb what was said before the next point arrives. An image dropped mid-sentence is like someone interrupting you while you're speaking, it fragments attention instead of resetting it. Heading transitions are natural pause points, which is why they're the only placement that consistently improves readability without disrupting flow.
Placement alone isn't enough. The image type must match the job it's doing at that point in the article. Here's the Image Type Decision Matrix:
| Content Moment | Image Type to Use | Placement Rule |
|---|---|---|
| Introducing a new concept | Diagram or illustration | Immediately after the H2/H3 that names the concept |
| Demonstrating a step or process | Screenshot or annotated capture | After the paragraph that introduces the step, before the next step begins |
| Supporting data or a claim | Chart or data visualization | Directly after the paragraph containing the statistic |
| Transitioning between major sections | Decorative or thematic image | Use sparingly, no more than one per 1,500 words |
This matrix is quotable because it's specific. AI answer engines favor passages that pair a rule with a concrete decision framework, and readers favor articles that don't make them guess which visual belongs where. If you want to validate your choices against what's already ranking, live SERP analysis shows what image types competitors use, screenshots for how-to content, diagrams for conceptual pieces, charts for data-heavy posts. Match the dominant type in the top five results, then apply the placement rule above.
One more nuance: decorative images at section transitions are optional, not required. If an image doesn't teach, prove, or orient, it's decoration, and decoration should be rare. Functional images earn their place; decorative ones just add scroll depth. With placement and type selection covered, the next step is producing those images without spending hours in a design tool.
How to Generate Inline Images with AI Step by Step
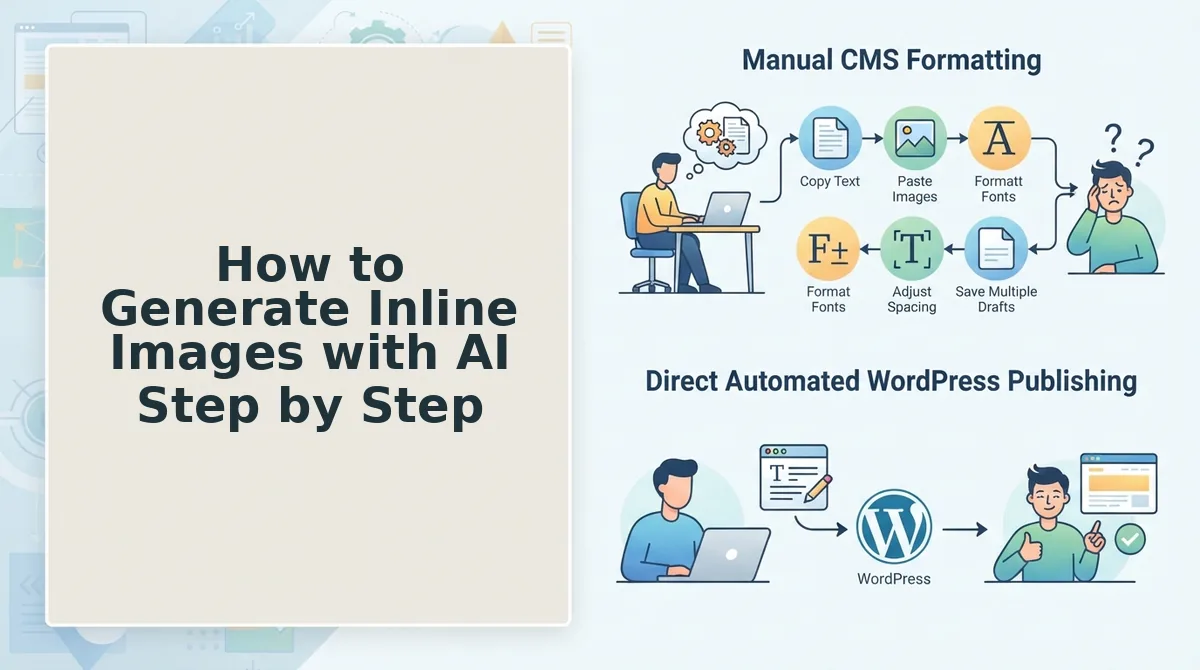
You can generate inline images in under 10 minutes per post by letting your draft dictate placement, then using an AI tool to create visuals at each natural section break. This workflow eliminates the manual "[Insert Image Here]" placeholder step entirely.
Prerequisites: A completed draft with clear section headings, access to an AI image generation tool (BloGoose's built-in generator, GravityWrite, or StealthWriter's Article Visualizer), and your blog's preferred image dimensions.
- Mark section breaks during outlining. Open your outline or draft and place a visual marker (such as "/// IMAGE ///") at every point where a reader's attention naturally dips, after the intro, before each H2, and before any data-heavy paragraph. You should see 4-7 markers in a 1,500-word post, each corresponding to a logical transition.
- Generate at natural section breaks. Click into your AI image tool and paste the section's heading plus one sentence of context as the prompt. In BloGoose, the automated image generation runs during drafting and places images at section breaks without manual prompting, the same outcome GravityWrite's tutorial targets, but with placement already handled. Expect 2-5 seconds per image.
- Match image type to section function. Select the image style based on what the section does: a screenshot for how-to steps, a diagram for conceptual explanations, a chart for data comparisons. Refer to the decision matrix in Section 3, if the section teaches a process, generate a labeled diagram; if it argues a point, generate a simple chart.
- Review and insert. Click the generated image to preview it at full size, then select Insert to place it at the marker. You should see the image appear inline with a caption field below it. Repeat for each marker until every section break has a functional visual.
StealthWriter's Article Visualizer reads your content and generates images in one click, but it does not tell you where to place them, pairing its generation speed with the placement markers from Step 1 gives you both speed and structure. For a fully hands-off version, automated content workflows that generate images at section breaks remove every manual step from this list.
Why Decorative Stock Photos Fail and What to Use Instead
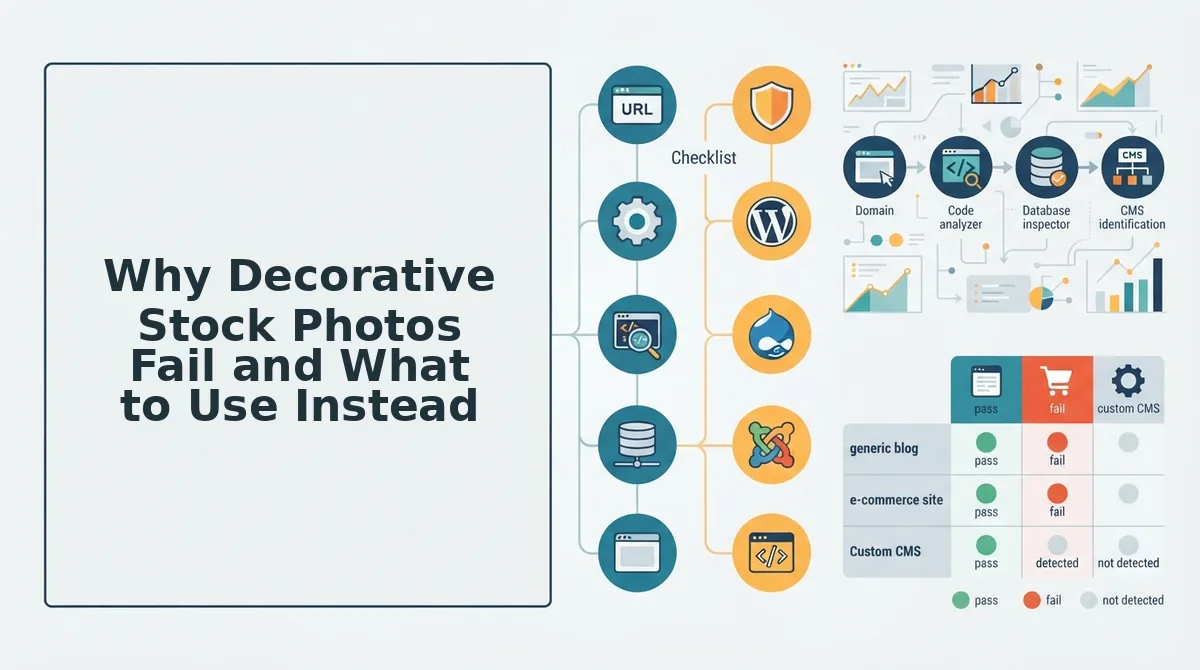
Decorative stock photos create banner blindness because readers have seen the same smiling-office and handshake images thousands of times, while functional images, screenshots, diagrams, and charts, deliver information gain that actually breaks up text. The distinction is not aesthetic; it is cognitive.
GravityWrite's own tutorial title acknowledges the fatigue directly: users are "tired of scrolling through endless stock photos." Nuveki's video content shows the same demand shift, with viewers requesting inline diagrams and charts rather than decorative photos. Functional images provide information gain; decorative images provide only visual relief, and relief without substance stops working after the third scroll.
| Image Type | What It Does | Reader Response | Best For |
|---|---|---|---|
| Decorative stock photo | Fills space, adds color | Banner blindness, skipped | Lifestyle brands with strong visual identity |
| Screenshot | Shows a real interface or result | Trust, verification | SaaS tutorials and product reviews |
| Diagram or flowchart | Explains a process or relationship | Comprehension, retention | How-to guides and concept explainers |
| Chart or data visualization | Makes numbers scannable | Authority, shareability | Data-driven posts and comparisons |
StealthWriter's one-click Article Visualizer is a legitimate strength for speed, it generates images from content without prompt engineering. But speed without placement guidance produces a wall of decorative images. BloGoose's approach connects image generation to section function, so every visual earns its place. If your current workflow ends with a stock photo library search, switching to an automated pipeline that generates functional images at section breaks is the single highest-leverage change you can make.
Frequently Asked Questions About Inline Blog Images
These questions come from real reader searches and social threads about inline image generation. Each answer is written for featured snippet extraction.
How do I generate inline blog images that break up text?
Generate images at natural section breaks using an AI tool that reads your draft, such as BloGoose's automated image generation or StealthWriter's Article Visualizer. Mark section breaks during outlining, then generate one functional image per break, a screenshot, diagram, or chart, rather than a decorative photo. This produces 4-7 inline images per 1,500-word post.
What is the best image-to-text ratio for a blog post?
One functional image per 200-300 words is the practical sweet spot for readability and SEO. That means roughly 5-7 inline images in a 1,500-word post, placed at section breaks and before data-heavy paragraphs. More images than this dilutes attention; fewer creates walls of text.
Can AI generate diagrams and charts for blog posts?
Yes. AI image generators can produce labeled diagrams, flowcharts, and simple data visualizations when you prompt them with the section's heading and one sentence of context. Nuveki's video content shows strong demand for exactly this, inline diagrams and charts, not decorative photos.
How do I avoid the "[Insert Image Here]" placeholder in AI drafts?
Use an AI content engine that generates images during drafting, not after. BloGoose places images at section breaks automatically as it writes, eliminating the placeholder step. If you use a manual tool, mark section breaks in your outline first, then generate images at each marker before finalizing the draft.
Ready to put these answers into practice? Start generating inline images that actually break up text.
Start Generating Inline Images That Actually Break Up Text
The placement rule is simple: one functional image every 300-400 words, positioned at section transitions where readers naturally pause. The workflow is simpler when you stop treating images as a separate task.
BloGoose generates images at natural section breaks during drafting, which means you never open a stock photo library, never write "insert image here" in a draft, and never circle back to fill placeholders after the writing is done. The image arrives with the paragraph it belongs to.
Here's the pattern that works:
- Write the section, and let the image generate at the transition point.
- Review the image for brand consistency, not for search relevance, the context is already baked in.
- Publish. The inline image ships with the article to WordPress or your API, no manual upload step.
If you're still using a separate tool for images, compare tools that generate images alongside optimized content and you'll see the gap: most platforms treat images as an afterthought, not as part of the drafting flow.
Start with one article. Let BloGoose handle the image placement and generation for that single post, then check the scroll depth and time-on-page metrics. The difference shows up in how far readers make it down the page.
An inline image earns its place when it gives the reader a reason to pause, not when it fills a layout gap.