Post Publish Checklist for Articles Shipped to WordPress by AI
You hit Publish, the page loads, and you close the tab. That is precisely where most WordPress articles start losing impressions â not because the writing is weak, but because nobody runs the post publish checklist wordpress articles need once a live URL exists.
Publish tutorials own this search space and every one of them stops at the click. The popular "I Never Publish a WordPress Post Without This Checklist" videos end exactly where verification work begins.
Here is the version that keeps going: 14 checks, under 15 minutes end to end, ordered by what breaks first. You will run a rapid pass on the live page, read Discovered versus Crawled status without resubmitting blindly, confirm the rendered DOM matches what you wrote, and audit AI-drafted claims before Google or a chatbot quotes them back at you.
One of those checks shows up in no plugin and no pre-publish tutorial, and it decides whether a machine-written paragraph becomes a citation or a correction.
BloGoose ships articles straight to WordPress as an AI SEO content engine, which is why this checklist starts at publish rather than ending there.
What should you check in the first 10 minutes after a WordPress post goes live?
Check six page states in the first 10 minutes: the permalink and canonical tag match the slug, the featured image renders with descriptive alt text, the post joins the right category cluster, the URL appears in the sitemap, the live URL returns a clean 200, and the byline points at a real author page.
You need Search Console access, the editor tab still open, and one extra browser tab for the live URL. Budget roughly 90 seconds per check.
- Open the editor sidebar, select Post, then Permalink, and confirm the slug is lowercase and hyphenated. View page source and confirm the rel="canonical" line points at that slug, not at ?p=. Success: canonical string matches the live URL exactly. (2 min)
- Click the featured image, then Edit, and check it renders at the theme's hero size with no broken placeholder. Alt text should describe the image, not repeat the keyword. Success: image displays above the fold at full width. (1 min)
- Select Categories and Tags in the sidebar and confirm the post joins one existing category plus 2â4 tags already used in the cluster. Success: the category archive lists the new post. (1 min)
- Type /sitemap_index.xml after your domain, open post-sitemap.xml, and search the slug. Success: the URL is listed. If it isn't, resave Settings, then Permalinks, before assuming the post is discoverable. (2 min)
- Paste the live URL into a header checker and read the first status line. A 301 or ?p= redirect quietly splits link signals away from the canonical URL you set. Success: one hop, status 200. (2 min)
- Click the byline and confirm it opens the intended author archive. AI-shipped drafts often inherit the publishing account instead of the writer you meant to credit. Success: author page loads with the post listed. (1 min)
BloGoose sets the canonical, sitemap entry, and author at publish time, so steps 1 and 6 come back clean without a manual pass.
Why is your post stuck at Discovered or Crawled but not indexed?
Both statuses mean Google knows the URL and has chosen not to index it yet. Discovered means it has not been fetched â usually an orphan page or a crawl-budget problem. Crawled means Google read it and judged it thin, duplicative, or weaker than a page it already has.
| Search Console status | Likely cause | One action |
|---|---|---|
| Discovered â currently not indexed | Weak internal links or an orphan page; sitemap not refreshed | Add 3 contextual internal links from indexed posts, then inspect |
| Crawled â currently not indexed | Thin content, near-duplicate overlap, low unique value | Merge or expand against the page already ranking; do not resubmit |
| Duplicate, Google chose different canonical | Two URLs serve the same intent | Consolidate with a 301 and repoint internal links |
| Page with redirect | Slug changed after publishing | Update internal links to the final URL |
| Excluded by noindex tag | SEO plugin default or staging setting left on | Toggle the plugin setting, then re-inspect |
Why the two statuses need different fixes: "Discovered â currently not indexed" is a crawl story. Google has the URL from your sitemap or a link and has not spent crawl budget fetching it, so the remedy is link equity and a refreshed sitemap. "Crawled â currently not indexed" is a quality story: Google fetched the page, read it in full, and decided an existing URL serves that query better or the new page adds too little. Requesting indexing again nudges the first case and does nothing for the second.
Request indexing is a one-shot nudge, not a fix, once a page is already Crawled. Search Console's URL Inspection remains the right first stop â it is the only place that shows the last crawl date and the exact canonical Google selected â and the Indexing API genuinely helps publishers shipping daily, provided the underlying page is worth crawling.
Best for solo operators publishing weekly: URL Inspection plus an internal-link pass. Best for high-volume publishers: automated sitemap submission wired into the publishing step. Best for agencies auditing client sites: a duplicate-and-canonical crawl before any submission request.
Index status is only half the diagnosis. Is your published HTML actually rendering on the front end?
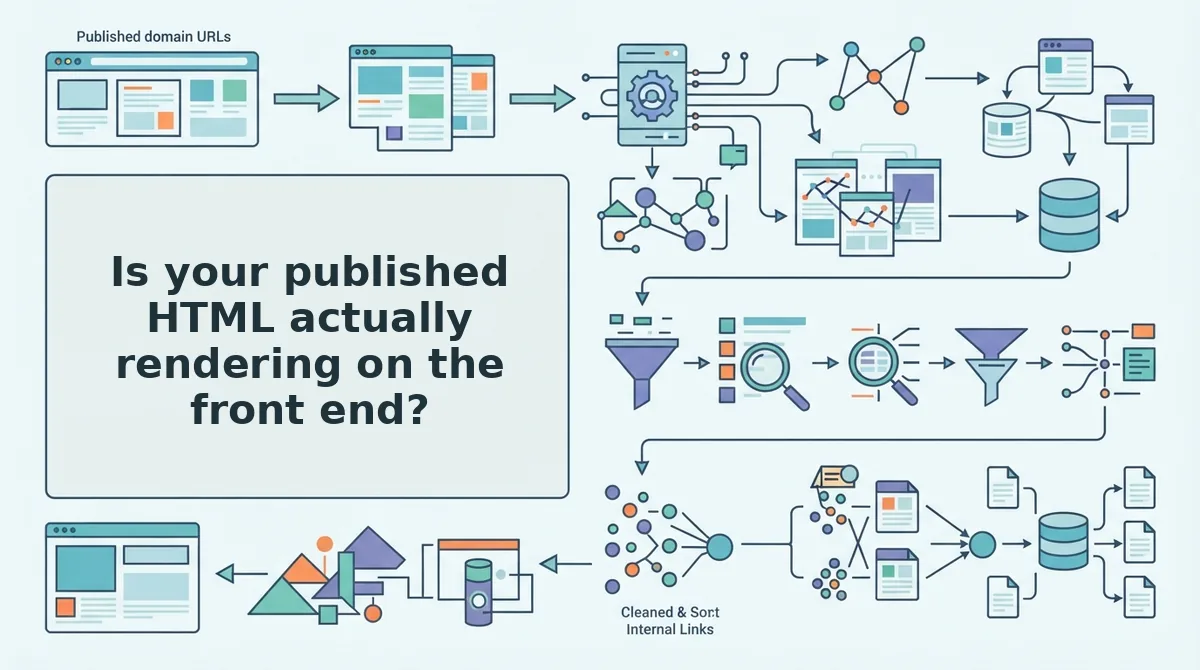
Is your published HTML actually rendering on the front end?
Frequently, no. Block-based content â tabs, accordions, lazy-loaded galleries â often reaches the browser through JavaScript, so the raw source and the rendered DOM disagree about which paragraphs actually exist.
What you need: the live published URL, a desktop browser with DevTools (Chrome, Edge, or Firefox), and about six minutes. No plugin required.
- Open the live URL in a fresh incognito window and let the page finish loading. You should see the complete article as a reader does, with no skeletons or spinners remaining (1 minute).
- Right-click the page and select View Page Source (or press Ctrl+U / Cmd+Option+U), then use Cmd/Ctrl+F to search the first sentence of three different body sections. You should find all three; any miss is a raw-HTML gap.
- Right-click a paragraph and select Inspect, then repeat the same three searches inside the Elements panel. You should find all three in the rendered DOM â a sentence present here but absent from source is being injected client-side (3 minutes).
- Flag every mismatch in either direction, note which block contains it, and fix it in that block's or plugin's settings. Do not re-upload the post: republishing reproduces the same failure, because the block still strips or injects the copy (2 minutes).
A tabbed or accordion block holding body copy is the classic case â the text sits in the raw HTML, passes every check, and never renders until a reader clicks. WordPress's own preview and most SEO plugins read post content, not the rendered DOM, so neither will warn you. For a deeper treatment of injected content, see JavaScript rendering and SEO.
BloGoose ships finished articles through the WordPress REST API and keeps the publish-and-verify step inside one workflow, so the rendered DOM gets checked as part of shipping rather than as an afterthought.
Which post-publish audits still catch AI draft errors?
Three audit families â claim density, link reciprocity, and schema markup â catch nearly every error an AI draft introduces, because each tests something the model cannot verify about itself.
- Claim density. Every number, name, and date must map to a named source in the same paragraph, or it gets cut. Scan sentence by sentence; a non-writer can finish a 1,500-word post in ten minutes.
- The three-line test. For each factual sentence, ask: what is the claim, which source states it, and is that source named right here? Fail any of the three and the sentence is not ready to stay.
- Delete rather than hedge. AI drafts absorb plausible statistics, and "studies suggest" hides the gap instead of closing it. Cut the sentence, then re-source it properly using citing sources â never soften it.
- Link reciprocity. At least one page that already ranks must link to the new URL; that inbound link is what converts an orphan page into a crawlable node. Check the link index, not your memory.
- Anchor patterns to avoid. "Click here", exact-match keyword stacks, and no inbound link at all are the three that recur. Use a descriptive phrase that mirrors the target page's H1.
- Article schema validation. Run the Rich Results Test and confirm a single Article entity with a real datePublished and author URL. Valid markup does not guarantee rich results â it only clears markup as a cause; see article schema.
- Author/Person markup. AI-assisted drafts commonly inherit the publishing account as author, which breaks Person markup. Verify one source of truth for the byline and every profile link pointing at it.
How do you run the claim-density test?
The claim-density test asks whether each factual statement carries its own evidence inside the paragraph where it appears. Read the sentence aloud and look for three things in the same breath: a specific claim, a named source, and enough context that a reader who landed on that paragraph alone would understand it. A sentence that says "most posts take weeks to rank" fails; one that names who measured it and on what sample passes. Apply the test to every number, name, and date, and delete rather than hedge anything that fails. This is also what makes a paragraph quotable by AI answer engines.
BloGoose drafts against your extracted brand rules and source context, which cuts the volume of unsourced claims before this audit begins â you verify exceptions instead of rewriting everything.
When should you measure results, and what do you do next?
Not before day 14. The publish button was the midpoint: the fourteen checks â render, indexation status, claim density, reciprocity, schema, byline, and the rest â exist to make the two weeks after publishing readable.
Read one metric per checkpoint: day 3 for indexation in the Search Console Pages report, day 7 for impressions, and day 14 for average position against the cluster siblings targeting adjacent queries. Three numbers, three dates, no dashboard archaeology.
Rewriting before day 14 is the most common self-inflicted wound here. Early edits reset the signal you were trying to read, so you lose the comparison and keep the doubt.
If you publish a few posts a month, one manual verification pass after each publish is enough. If you publish daily, that pass has to be automatic â which is where connecting an AI content engine to WordPress stops being setup and becomes the verification layer. Point BloGoose at your domain, and its first output is a calendar you can check against your own cluster gaps.
The checklist only gets cheaper each time you run it, and by the third cluster you will spot a broken render before the reader does.