
How to Publish AI Blog Posts to WordPress Without Plugins
Your WordPress admin bar has 14 plugin update notifications, your site speed score dropped 12 points last quarter, and the AI publishing plugin you installed in March now has a disclosed vulnerability. Sound familiar? If you're managing content at scale, the plugin treadmill is quietly eating your margins, and the fix isn't another plugin. You can publish AI blog posts to WordPress without plugins using a native feature that's been sitting in WordPress core since version 5.6: the REST API with application passwords.
You're right to be frustrated. Every plugin adds an update loop, a patch cycle, and a potential attack surface, yet most tutorials pretend the only way to automate AI publishing is to install more software. That's wrong.
Here's what you'll learn: how to generate an application password in under two minutes, send a fully formatted AI-drafted post to WordPress with a single API call, and schedule future posts without touching the admin dashboard. You'll also see when plugins still earn their keep, and when they're just dead weight. One surprising detail: the scheduling trick most people miss is hiding in a single JSON field, and it's the difference between manual publishing and true autopilot.
If you'd rather skip the manual API work entirely, an AI SEO content engine can handle the entire pipeline, from brand-voice drafting to scheduled WordPress publishing, without a single plugin install.
Why Publish Without a Plugin?
Publishing without a plugin means using WordPress's built-in REST API, a native interface that lets external tools create, update, and schedule posts over HTTPS; instead of installing third-party software inside your WordPress admin. The direct answer: you eliminate three recurring costs that plugins impose on every site.
First, the update loop. Every plugin you install is a piece of software that needs version bumps, compatibility checks, and occasional emergency patches. A plugin that publishes AI content is no exception, it sits between your content pipeline and your database, and when it breaks, your publishing stops. Second, the vulnerability surface. Each plugin adds code that attackers can probe; WordPress security advisories consistently list plugins as the most common entry vector for compromised sites. Third, admin bloat. Plugins load scripts, add menu items, and slow down your dashboard, often for a task that a single HTTP request can accomplish.
Think of a plugin like hiring a courier who also demands a key to your office, a desk in the lobby, and a monthly retainer, when all you needed was to hand an envelope to the postal service that was already standing at your door. The REST API is that postal service: it's already running on every WordPress site, maintained by the WordPress core team, and patched as part of core updates, not as a separate dependency.
Here's the hidden cost most tutorials ignore: plugin fatigue compounds. A site running 20 plugins might spend 3-5 hours per month on updates, conflict resolution, and security monitoring. Multiply that across a content team managing multiple client sites, and the operational overhead rivals the cost of the content itself. The native REST API route removes that entire category of work.
When do plugins still make sense? If you need complex SEO metadata management, schema markup, per-post canonical overrides, social preview cards, a dedicated SEO plugin provides a UI that the raw API doesn't. Likewise, if your team relies on visual revision history or in-dashboard editing of AI drafts before publishing, a plugin's interface has real value. But for the core job of getting an AI-written post from your drafting tool into WordPress as a published or scheduled post, the REST API is faster, lighter, and more secure.
One self-contained answer worth bookmarking: To publish a post to WordPress without a plugin, create an application password under Users to Profile in the WordPress admin, then send an authenticated POST request to /wp-json/wp/v2/posts with a JSON body containing the title, content, and status fields. The post appears in your dashboard exactly as if you had written it manually, because WordPress treats API-created posts as native content, not imported data.
How to Publish with the WordPress REST API and an Application Password
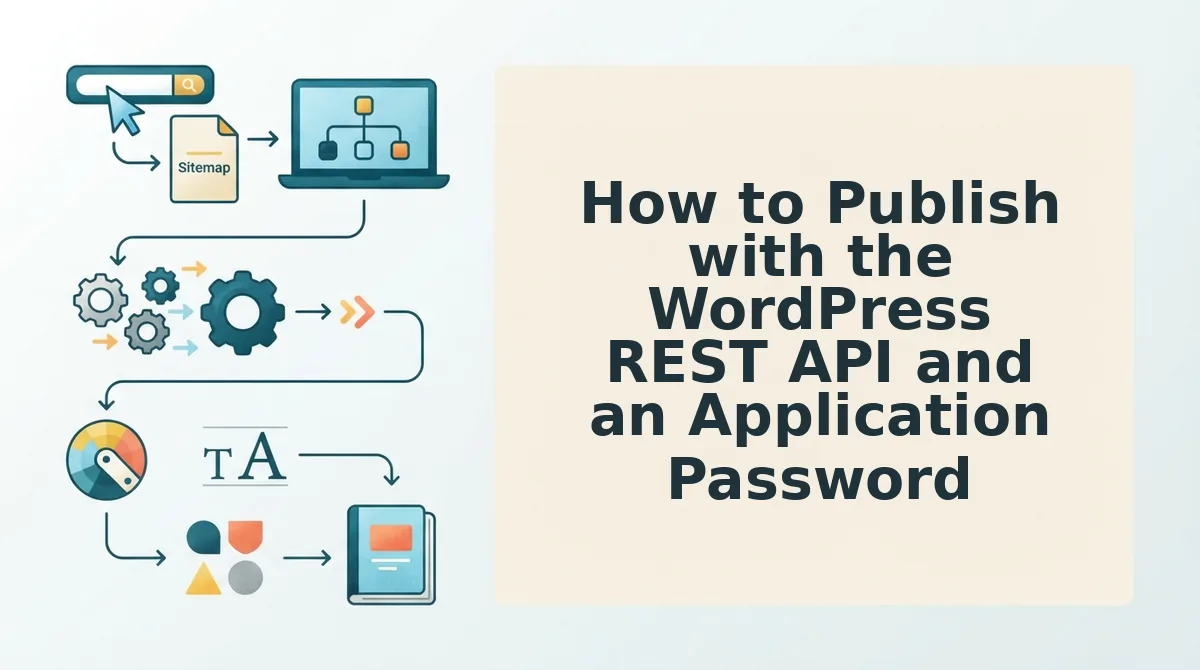
You can publish an AI-drafted post to WordPress in under five minutes using two native tools: an application password (WordPress 5.6+) and a single REST API request. No plugins, no third-party services, no admin dashboard required.
Prerequisites: A WordPress site running version 5.6 or later, administrator or editor access, and a terminal or API client (curl, Postman, or any HTTP tool). You'll also need your AI-generated post content ready as plain text or HTML.
- Open your WordPress admin and navigate to Users to Profile. Scroll to the bottom of the page until you see the Application Passwords section. If you don't see it, your site may have disabled it via a filter, check with your host or enable it in your theme's functions file.
- Type a name for the new application password, something descriptive like "AI Publishing Pipeline" or "Content Engine", and click Add New Application Password. WordPress generates a 24-character password with spaces. You should see it displayed once in a highlighted box. Copy it immediately; WordPress will not show it again. This password works only for API requests, not for regular logins, and you can revoke it anytime from the same screen.
- Open your terminal and construct the curl command. Replace yoursite.com, your-username, and the application password with your values. The Authorization header uses Basic authentication, where the password is your application password with spaces removed:
curl -X POST https://yoursite.com/wp-json/wp/v2/posts \
-H "Authorization: Basic $(echo -n 'your-username:XXXX XXXX XXXX XXXX XXXX XXXX' | base64)" \
-H "Content-Type: application/json" \
-d '{"title":"Your AI Post Title","content":"<p>Your AI-generated HTML content here</p>","status":"draft"}'
You should see a JSON response containing the new post's ID, permalink, and status. If you receive a 401 error, double-check that you removed the spaces from the application password and that your username is correct.
"status":"publish". To schedule, set "status":"future" and add a "date" field in ISO 8601 format, for example, "date":"2026-11-12T09:00:00". WordPress automatically holds the post and publishes it at the specified time, no cron plugin needed.The scheduling capability is the piece most tutorials skip. The status and date fields work together: setting status to future with a valid future date tells WordPress to treat the post as scheduled, and it appears under Posts to Scheduled with the correct timestamp. This single field combination is what turns a manual API call into an automated publishing pipeline.
If you're sending dozens of posts per week, wrapping these API calls in a script or connecting your AI drafting tool directly to the endpoint removes the copy-paste step entirely. An autopilot SEO content platform handles this connection natively, drafting, formatting, and scheduling posts straight to WordPress with the same REST API route, no plugin required.
Next, let's wire your AI assistant directly into this pipeline so drafts flow from ChatGPT or Claude into WordPress without a single manual copy-paste.
How to Connect ChatGPT or Claude Directly to WordPress
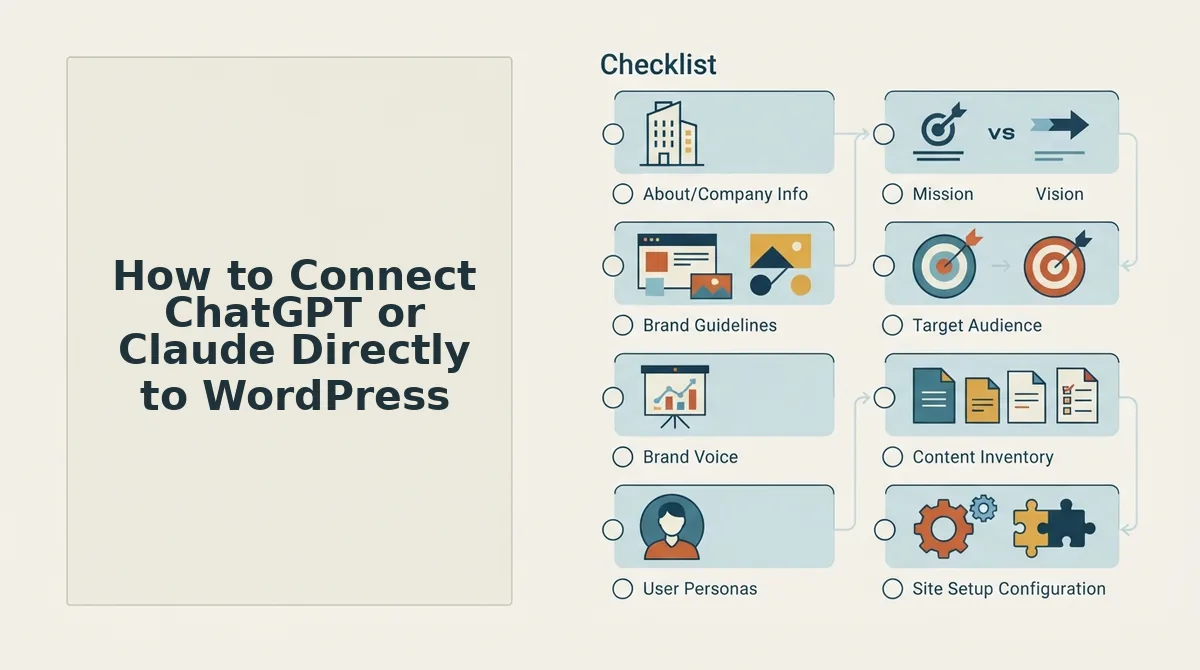
You can connect ChatGPT or Claude to WordPress without a plugin using either the WordPress MCP server for a no-code setup or a custom API endpoint for field-level control. Both routes publish posts through the REST API, but they differ in setup effort and flexibility.
Prerequisites: A WordPress site running version 5.6 or later, an Administrator or Editor account, and either a ChatGPT Plus/Team plan (for MCP) or a Claude account with API access. You will also need the Application Password you created in the previous section.
Route A: WordPress MCP Server (No-Code Setup)
- Open ChatGPT and navigate to Settings, then Connections, then MCP Servers. Click Add Server.
- Select the official WordPress MCP server from the directory. You should see a configuration panel with fields for your site URL and credentials.
- Type your WordPress site URL (for example,
https://yoursite.com) into the Site URL field. Then paste your Application Password into the credential field. Click Connect. - Wait for the connection test to complete, typically under 10 seconds. You should see a green checkmark next to your site name, confirming the MCP server can authenticate.
- Type a prompt such as "Publish a 500-word post titled 'My First AI Post' to my WordPress site." ChatGPT will draft the content and push it directly to your site without opening wp-admin.
- Verify by opening your WordPress dashboard and clicking Posts. You should see the new draft or published post listed with the correct title and author.
The MCP server lets ChatGPT or Claude publish without wp-admin or code, which is ideal if you want conversational publishing with zero configuration beyond the initial connection.
Route B: Custom API Endpoint (Fine-Grained Control)
- Create a custom endpoint in your theme's
functions.phpfile or a small custom plugin usingregister_rest_route(). This endpoint should accept a POST request with fields for title, content, excerpt, and any custom meta. - Add validation logic to the endpoint, for example, checking that the title is under 200 characters and the content is not empty. Return a
400status with an error message if validation fails. - Map incoming fields to WordPress post arguments, including
post_status,post_type, and any SEO metadata fields your theme supports. This mapping is what custom endpoints allow beyond the default REST API. - Test the endpoint with a tool like Postman or cURL. Send a sample JSON payload and confirm you receive a
201 Createdresponse with the new post ID. - Configure ChatGPT or Claude to call your endpoint. In ChatGPT, add a custom action in Settings to Actions with your endpoint URL and schema. In Claude, define the endpoint in your API tool configuration.
- Run a test prompt and check the response. You should see the post appear in WordPress with all custom fields populated correctly, including any SEO metadata you mapped.
Custom API endpoints allow field mapping and validation beyond the default REST API, making them the better choice when you need structured data, custom taxonomies, or strict content rules enforced before publishing.
How BloGoose Publishes AI Posts Without Any Plugin
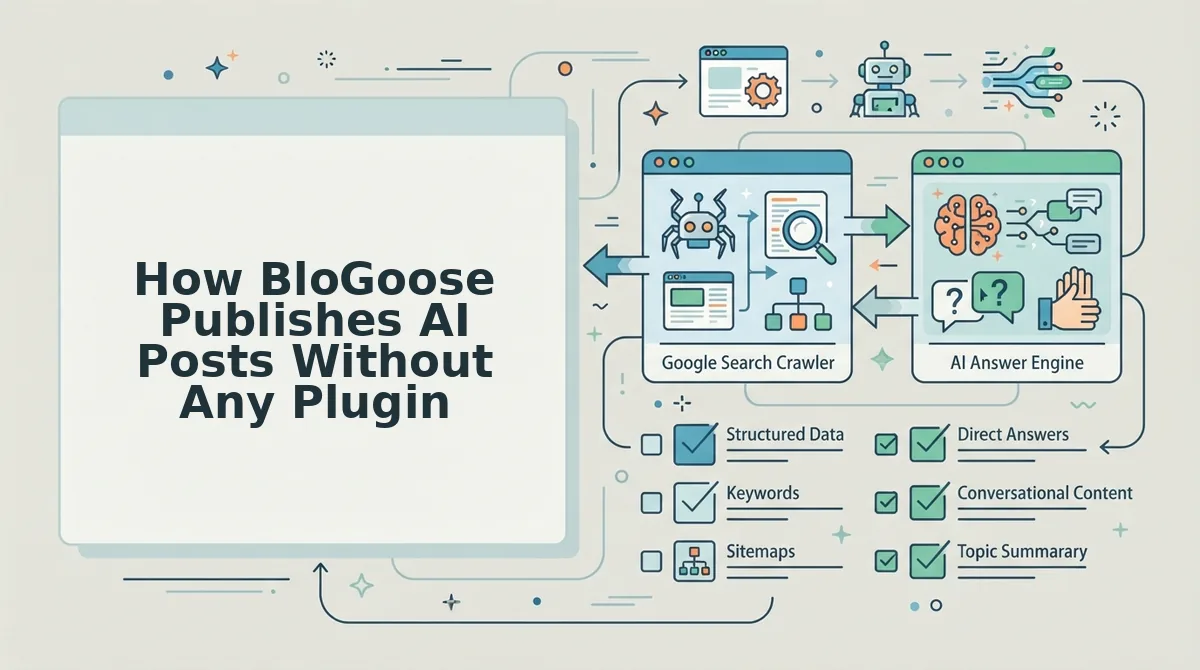
BloGoose is an AI SEO content engine that reads your site, learns your brand voice, and ships finished articles directly to WordPress or a custom API, no plugin installation required. Think of it like a ghostwriter who visits your office, studies your filing system, writes the article, and files it in the right drawer without you handing over a keycard.
The workflow starts when you drop your domain into the setup wizard. BloGoose crawls your XML sitemap and inspects published pages to extract brand context, tone, terminology, formatting habits, before drafting a single word. That means the AI writes in your voice, not a generic one.
Next, BloGoose runs live SERP analysis on your target keywords to see what currently ranks and what answer engines are citing. The draft is then optimized for both Google and AI citations before publishing.
Finally, BloGoose pushes the post directly to WordPress through the REST API using the same Application Password method described above, or to a custom API endpoint if you need field mapping beyond the defaults. The entire loop, from crawl to publish, runs without you touching wp-admin or installing a single plugin.
If you are tired of stitching together a chat window, a spreadsheet calendar, and a manual copy-paste publishing step, BloGoose collapses that stack into one connected workflow.
Plugin-Free vs Plugin Publishing: Which Should You Choose?
Plugin-free API publishing and plugin-based publishing each solve real problems, and the right choice depends on your team's priorities. Plugin-free routes eliminate update loops and reduce vulnerability surface, but you give up revision history and SEO metadata fields by default. Plugins like Yoast or Rank Math add rich SEO controls and version tracking, at the cost of maintenance and potential conflicts with other plugins.
| Factor | Plugin-Free (REST API / MCP) | Plugin-Based (Yoast, Rank Math, etc.) |
|---|---|---|
| Security surface | Minimal, no third-party code on your site | Larger, each plugin adds potential vulnerabilities |
| Maintenance | None beyond WordPress core updates | Ongoing plugin updates and compatibility checks |
| SEO metadata fields | Not available by default; requires custom endpoint | Built-in meta title, description, schema controls |
| Revision history | Not available by default | Full revision tracking and rollback |
| Setup effort | Low with MCP; higher with custom endpoints | Low, install and configure |
Best for solo operators and lean teams: Plugin-free publishing, especially via the WordPress MCP server or a tool like BloGoose, if you value speed and a clean install over granular SEO controls.
Best for SEO specialists and content managers: Plugin-based publishing, if you need per-post metadata fields, schema markup, and revision history baked into your editing workflow.
Both approaches can produce rank-ready content; the difference is where you spend your time, configuring fields or shipping posts. Here are the questions readers ask most about publishing AI posts without plugins.
Frequently Asked Questions About Publishing AI Posts Without Plugins
Publishing AI-generated posts to WordPress without a plugin is done through the built-in REST API using an application password, which lets any AI tool that can send HTTP requests create drafts or publish posts directly.
How do I publish AI-generated content to WordPress without installing a plugin?
Use the WordPress REST API at /wp-json/wp/v2/posts with an application password for authentication. Send a POST request containing the title, content, and status fields. Any AI tool capable of HTTP requests, including ChatGPT with actions or a custom script, can publish this way.
Is using the WordPress REST API with an application password safe?
Application passwords are safer than sharing your main WordPress login because they are scoped to the REST API, can be revoked individually at any time, and never expose your primary credentials. Always use HTTPS and store the password in an environment variable rather than hardcoding it.
Can I set SEO metadata like meta descriptions without a plugin?
Yes. SEO metadata can be sent as custom fields via the REST API without a plugin. Include a meta object in your POST request with keys matching your theme or SEO framework's expected field names, such as _yoast_wpseo_metadesc for Yoast-compatible themes.
How do I publish AI-generated images to WordPress without a plugin?
Upload the image to the media endpoint at /wp-json/wp/v2/media first, then reference the returned media ID as the featured_media field in your post request. The REST API handles the upload, resizing, and attachment creation natively without any plugin.
Can I bulk publish multiple AI posts at once without a plugin?
Yes, by looping through your AI-generated content and sending one POST request per article to the REST API. For higher volume, batch requests or a small script using the WordPress HTTP API can queue posts. BloGoose automates this entire flow from sitemap crawl to published post, including AEO optimization.
Why does my REST API post return a 401 error even with the right password?
A 401 error typically means the application password was created for the wrong user, the password was copied with extra spaces, or the Authorization header is malformed. The header must use Basic authentication with the format username:application_password encoded in Base64. Revoke and regenerate the application password to rule out a corrupted credential.
Publishing AI Content Without Plugins Is a Choice, Not a Compromise
The REST API path proves that plugin-free publishing is not a workaround but a legitimate, secure, and fully supported WordPress capability. Any AI tool that can send HTTP requests can write directly to your site, and application passwords give you granular, revocable control that shared logins never could.
The real question is how much of the pipeline you want to own. For a single post, the REST API method takes minutes to set up and costs nothing. For a 30-day content calendar with brand voice extraction, SEO metadata, images, and AEO baked in, hand-rolling scripts becomes the bottleneck.
Your next step: publish one test post through the REST API to prove the workflow on your own site, or start a BloGoose pilot to automate the entire flow from sitemap crawl to published, voice-accurate articles. The infrastructure is already yours, the only variable left is how much of it you want to run yourself.