
How to Send AI Drafts to a Custom API Endpoint
You've got twelve tabs open: one for keyword research, one for the AI draft, one for the style guide, one for the CMS, one for the image tool, one for the SEO checker, and you're about to open a thirteenth just to figure out where the draft went. That's the 12-tab content stack, and it's the reason your publishing queue keeps stalling. If you're ready to send AI blog drafts to a custom API endpoint and skip the copy-paste marathon entirely, you're in the right place.
You already know the manual loop is the bottleneck. What you may not realize is that a simple POST request with a well-formed JSON body is often all you need to close it. This article walks you through the exact delivery pipeline, from payload structure to authentication to verification, so your drafts land in your backend without a human in the middle. Stick around for the step where most setups break, and the one validation trick that saves you from debugging broken posts at 11 p.m.
By the end, you'll have a repeatable workflow that turns any AI-generated draft into a structured, API-ready deliverable, the same kind of pipeline an AI-powered SEO content engine automates out of the box.
What Sending AI Drafts to a Custom API Endpoint Actually Means
Sending an AI blog draft to a custom API endpoint means making an HTTP POST request that delivers the draft's title, content, and metadata as a structured JSON object to a URL your backend controls. Think of it like handing a sealed envelope to a courier: the endpoint is the delivery address, the JSON payload is the envelope's contents, and your backend is the person who opens it and files everything where it belongs.
To make this concrete, four entities matter. A custom API endpoint is any URL you own that accepts incoming HTTP requests, typically something like https://yourdomain.com/api/drafts. A webhook is a specific type of endpoint that receives data automatically when an event fires, rather than waiting for a manual trigger. A JSON payload is the body of the request, formatted as key-value pairs that both sender and receiver agree on. A headless CMS is a content management system without a built-in frontend, which exposes exactly these kinds of endpoints for programmatic content delivery.
Here's the direct answer in one self-contained passage: Sending an AI blog draft to a custom API endpoint means making an HTTP POST request that delivers the draft's title, content, and metadata as a structured JSON object to a URL your backend controls. The request typically includes three parts: a URL that identifies where the draft should go, a set of headers that describe the payload's format and carry authentication credentials, and a JSON body containing fields like title, slug, body_html, meta_description, and status. Your backend receives the request, parses the JSON, validates the fields against its schema, and either stores the draft or rejects it with an error code. This is the same mechanism that powers automated publishing pipelines, where an JSON formatter ensures the payload is valid before it ever leaves the sender.
At the simplest level, you can test this with a tool like cURL or Postman. At an intermediate level, you'd add authentication headers and idempotency keys, an idempotent request is one you can safely retry without creating duplicate posts. At an advanced level, you'd build retry logic, webhook signatures, and schema validation into your own service.
The 5-Step Draft Delivery Pipeline
The reliable way to move an AI draft from your writing tool to your backend is a five-step sequence: Generate, Validate, Transform, Authenticate, Deliver, and Verify. Each step has a clear success signal, and skipping any one of them is how drafts end up lost, malformed, or silently rejected.
Prerequisites: You'll need a custom API endpoint URL, an API key or token from your backend, and a JSON editor or JSON formatter for validation. A tool like Postman or cURL for testing is also helpful.
- Generate the draft in a structured format. Open your AI writing tool and export the draft as JSON, not plain text. You should see fields for
title,content, andmeta_descriptionclearly separated. - Validate the JSON payload. Paste the exported JSON into a formatter and confirm it parses without errors. You should see a green checkmark or "Valid JSON" message before moving on.
- Transform the payload to match your endpoint's schema. Rename or nest fields so they match exactly what your backend expects, for example, mapping
contenttobody_html. You should see every required field populated with no extras. - Authenticate the request. Open your HTTP client, select POST, and add your API key to the
Authorizationheader. You should receive a200 OKor201 Createdresponse, not a401 Unauthorized. - Deliver and verify. Send the request, then check your backend's draft list or database for the new entry. You should see the draft appear with the correct title, status, and timestamp.
Pro tip: Validate before you authenticate. A malformed payload that passes auth still creates a broken post, but a well-formed payload that fails auth just retries cleanly. This ordering alone eliminates most debugging sessions.
This pipeline is the manual version of what an automated SEO content engine handles behind the scenes. Next, let's build the payload itself.
Step 1, Build Your JSON Payload With a Template You Can Copy
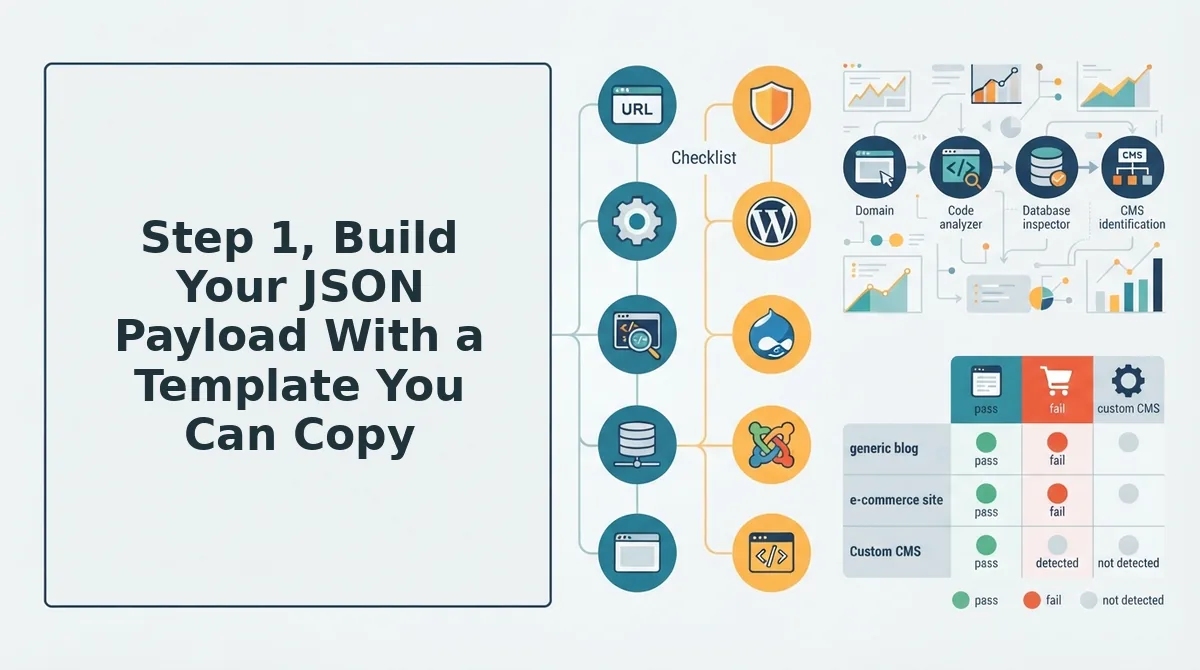
Your custom API endpoint expects a JSON payload with specific fields, and the fastest way to get it right is to start from a complete template rather than assembling fields from memory. You'll need a text editor, your endpoint's field requirements, and the draft content from your AI tool.
- Open your text editor and paste the template below. Replace each value with your actual draft data. You should see all 12 fields laid out in one block, ready for editing.
- Type your article title into the
titlefield and generate a URL-safe version forslug. If your AI tool doesn't auto-generate slugs, run the title through a slug generator to strip special characters and lowercase everything. You should see a clean, hyphenated string likehow-to-send-ai-drafts-to-custom-api. - Paste the full article HTML into the
contentfield. Keep all heading tags, lists, and images intact. You should see the raw HTML preserved exactly as your CMS will render it. - Fill the optional fields only if your endpoint accepts them. Fields like
excerpt,author,tags,categories, andfeatured_image_urlare optional in most APIs. You should see your payload validate without errors when optional fields are omitted. - Add SEO metadata to
seo_titleandseo_description. These map to your CMS's meta title and meta description fields. You should see your SEO plugin populate automatically on publish. - Set
published_atandstatusto control timing. Use ISO 8601 format for the date anddraftorpublishedfor status. You should see your article appear in the CMS at the scheduled time.
Here is the complete platform-agnostic JSON payload template with field-by-field explanations:
{
 "title": "Your Article Title",
 "slug": "your-article-title",
 "content": "<h2>First Heading</h2><p>Body text...</p>",
 "excerpt": "Optional: 1-2 sentence summary",
 "author": "Optional: author name or ID",
 "tags": ["optional", "tag", "list"],
 "categories": ["optional", "category"],
 "featured_image_url": "https://optional-image-url.com/image.jpg",
 "seo_title": "Optional: meta title override",
 "seo_description": "Optional: meta description override",
 "published_at": "2026-11-05T09:00:00Z",
 "status": "draft"
}
Required fields are title, slug, and content. Every other field is optional, but including seo_title and seo_description prevents your CMS from auto-generating weaker metadata. The published_at field accepts any ISO 8601 timestamp, which lets you backdate or schedule posts without touching your CMS dashboard.
Step 2, Authenticate Without Leaking Your API Key
API authentication is the process of proving your request is authorized to write to the endpoint, typically using a secret key or token sent with each request. Think of an API key like a house key: you wouldn't tape a copy to your front door, so don't paste it into prompts or config files that get logged, shared, or stored in plain text.
Start simple: store your key in an environment variable on your server or CI runner. Your code reads the key at runtime from process.env.API_KEY, never from a hardcoded string. This keeps the secret out of your git history and out of screenshots.
For intermediate setups, use a secret manager like AWS Secrets Manager or Vercel Environment Variables to inject keys at deploy time. The key never touches your local machine. For advanced flows, rotate keys on a schedule and scope each key to a single endpoint or environment.
Never paste your API key into an AI tool's prompt or system config. Prompts get logged, shared in support tickets, and sometimes included in training data. If you need a strong key, generate one with a password generator that produces high-entropy strings. BloGoose handles authentication server-side, so keys never appear in prompts, drafts, or exported payloads.
Step 3, Choose Your Transport: REST API vs Webhook
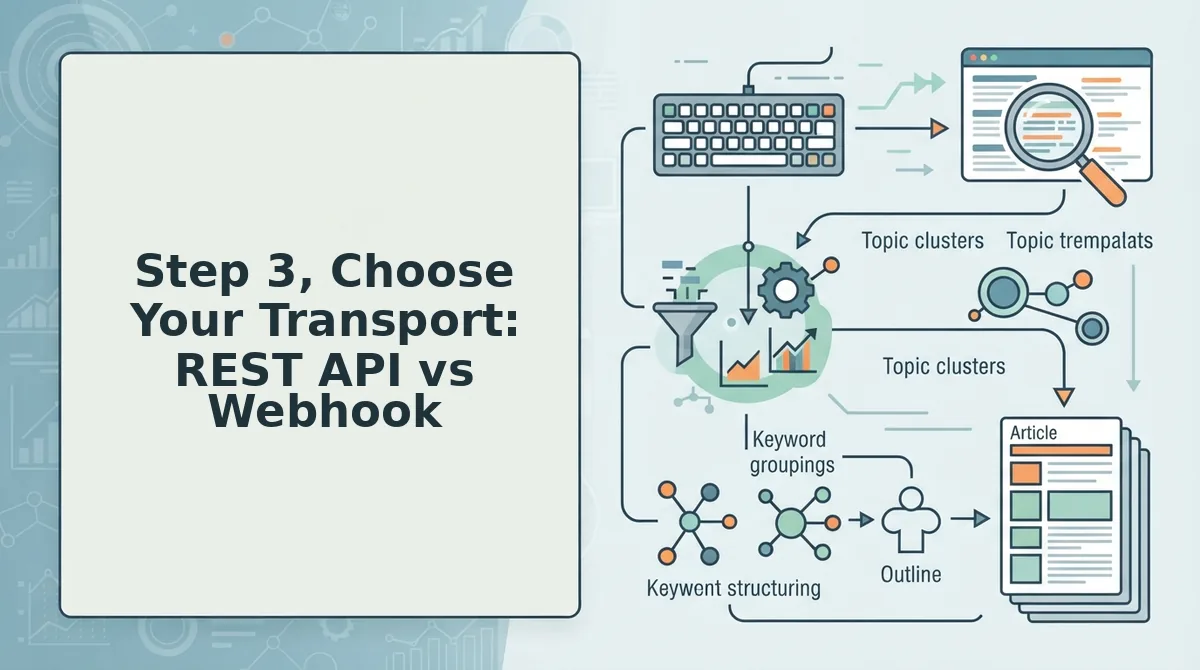
A REST API lets your AI tool push drafts on demand by making an HTTP request to an endpoint, while a webhook is an event-driven push where the receiving system calls your URL the moment a draft is ready. The choice comes down to who initiates the transfer and how you handle timing.
| Factor | REST API | Webhook |
|---|---|---|
| Trigger | You call the endpoint when ready | System calls your URL on an event |
| Latency | Immediate, synchronous response | Near-real-time, depends on sender |
| Retry behavior | You control retries in your code | Sender retries on failure (varies by provider) |
| Best for | Batch publishing, scheduled drafts, full control | Real-time handoff, event-driven pipelines |
REST APIs are best for content managers who want to review drafts before publishing or send articles in scheduled batches. Webhooks are best for developers building real-time pipelines where the AI tool and CMS stay in sync automatically. Both approaches are valid, and many teams use REST for initial setup then add webhooks for scale. For implementation details on either path, see the BloGoose docs. Once your transport is chosen, the next step is making sure failed requests don't create duplicate posts.
Step 4, Handle Failures With Retry Logic and Idempotency Keys
Retries without idempotency keys create duplicate posts; a unique draft ID sent with every request lets your endpoint deduplicate and reject repeats safely.
Prerequisites: A working JSON payload from Step 1, your authentication header from Step 2, and a UUID generator to mint a unique draft ID per article.
- Generate a UUID for the draft before the first send. Open a UUID generator, copy a v4 UUID, and store it alongside the draft in your CMS or spreadsheet. You should see the same ID reused across every retry for that article, never regenerated per attempt.
- Add the UUID to your payload as
idempotency_keyand send the request. Paste the UUID into the top level of your JSON body, then POST. Your endpoint should return a201 Createdwith the post URL on first success. - Set a retry policy of 3 attempts with exponential backoff. Configure your sender to retry after 2 seconds, then 8 seconds, then 30 seconds on
5xxerrors or timeouts only, not on4xxvalidation errors. You should see the same idempotency key on every retry, which tells the endpoint to return the original result instead of creating a second post. - Verify the endpoint deduplicates before trusting the pipeline. Send the same request twice with the identical key, then check your CMS for a single post. You should see one published article and two identical
200 OKresponses.
Cautionary scenario: One publisher wired naive retries without idempotency keys and woke up to 14 copies of the same post after an overnight API outage triggered repeated resends. The fix took an hour of manual deletion, the UUID approach would have prevented every duplicate.

Step 5. Verify the Publish and Close the Loop
Verification is the step competitors skip: confirm the response code, capture the published URL, log the draft-to-URL mapping, and feed that URL back to your AI tool for internal linking.
- Check the response code. A
201 Createdor200 OKconfirms the publish succeeded, while a202 Acceptedmeans the endpoint queued the draft for async processing. Log the code and timestamp for every send so failures are traceable later. - Confirm the post URL. Extract the
urlorpermalinkfield from the response body and open it in a browser. You should see the rendered article live at the expected URL structure, not a 404 or staging preview. - Log the draft ID to published URL mapping. Store the idempotency key next to the live URL in a spreadsheet or database row. This mapping lets you audit duplicates, retry safely, and trace any article back to its originating draft.
- Feed the URL back to your AI tool. Send the published URL to your content engine so it can update internal links, canonical tags, and sitemap entries. This closes the loop and lets future drafts reference the live post automatically.
FAQ: Sending AI Blog Drafts to a Custom API Endpoint
Sending AI drafts to a custom API endpoint means POSTing a structured JSON payload, containing the title, body HTML, slug, and metadata, to a URL your CMS or middleware exposes, then handling authentication, retries, and verification so each draft publishes exactly once.
How do I send AI blog drafts to a custom API endpoint?
Build a JSON payload with your draft's title, HTML body, slug, and metadata, then POST it to your endpoint with a bearer token in the Authorization header. Include an idempotency key so retries never create duplicates, and verify the response code and returned URL.
What's the difference between a webhook and a REST API for publishing?
A REST API is request-response: you POST a draft and receive an immediate status code and post URL. A webhook is fire-and-forget: your AI tool sends the payload to a listener URL, which processes it asynchronously without a synchronous confirmation. REST gives better error handling for publishing.
What should my JSON payload look like?
Your payload needs a top-level title, content or body_html, slug, status, and idempotency_key field. Validate the structure with a JSON formatter before sending, since a single unescaped quote breaks the entire request.
How do I keep my API key secure?
Send the key only in the Authorization: Bearer <token> header over HTTPS, never in the URL or body. Store it in an environment variable or secrets manager, and rotate it immediately if it appears in logs, client-side code, or a public repository.
What happens if the API call fails?
If the endpoint returns a 5xx error or times out, retry up to three times with exponential backoff using the same idempotency key. The key tells the endpoint to return the original result instead of creating a duplicate post. Do not retry 4xx validation errors, fix the payload first.
The Three Decisions Resolve Into One Pipeline
You opened this article with three decisions hanging in the air: JSON payload design, authentication, and retry logic. Each one now has a concrete answer. Design your payload around a template you can reuse across every article. Authenticate with a server-side secret that never touches client code. Retry with idempotency keys so a failed request never creates duplicate posts.
Those three choices stop being separate problems the moment you wire them into a single delivery pipeline. BloGoose handles the payload structure, the auth headers, and the retry schedule automatically once you connect your endpoint. You verify the publish, close the loop, and move on to the next draft.
Your next step: connect BloGoose to your custom API endpoint and publish drafts automatically. Review BloGoose pricing to see which plan fits your publishing volume, then point the setup wizard at your endpoint and let the pipeline run.
An AI draft that never reaches your CMS is just a text file with ambition. The pipeline is what turns generation into publication, and publication is the only thing search engines can rank.