
How to Send AI Drafts to WordPress Without Plugins
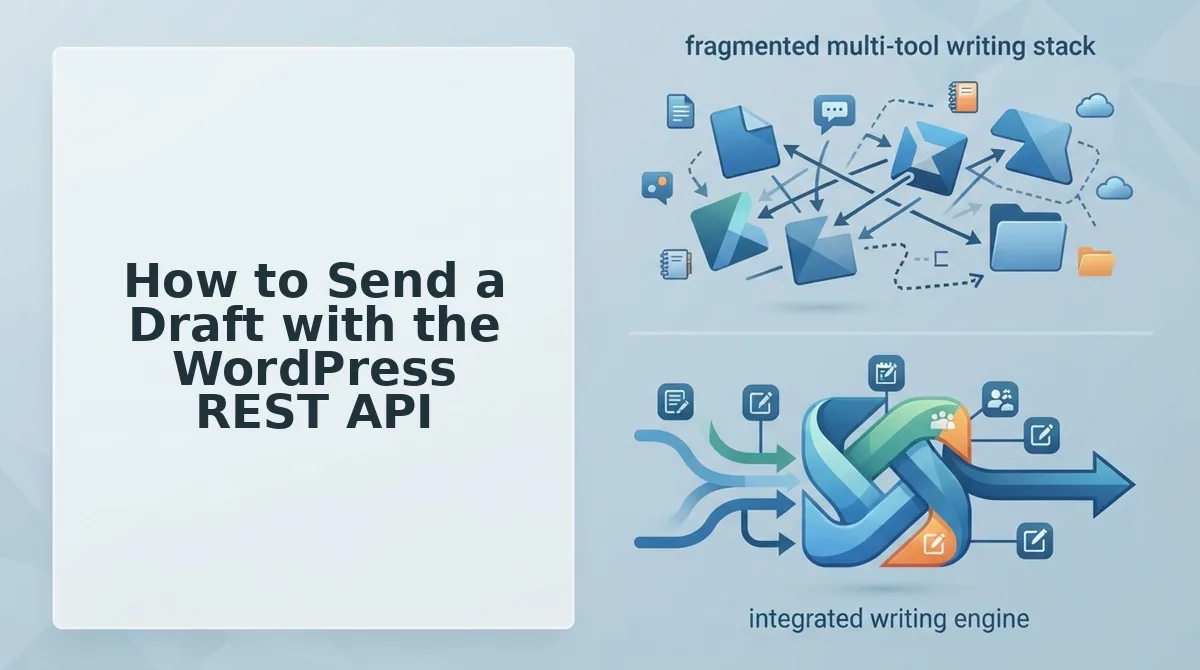
You've written the AI draft. It's sitting in a chat window, a Google Doc, or a clipboard. Now you're about to open WordPress, paste it into the block editor, re-upload every image, fix the formatting, and hit publish, for the fourth time this week. If that loop sounds familiar, you're not alone: the "12-tab content stack" is exactly the problem a tool like an automated SEO content engine exists to eliminate. Here's the part most people don't realize: you can send AI drafts to WordPress without plugins using nothing but the core software already running on your server.
Agree, the plugin-first advice is everywhere, and it quietly adds update cycles, compatibility risk, and one more login to your publishing workflow. Promise, by the end of this guide, you'll know the exact HTTP request that creates a draft post from raw AI text, no plugin required. Preview, we'll cover why skipping the plugin is the smarter default, what credentials you need, and the precise request format that works today.
WordPress has shipped a REST API in core since version 4.7 and Application Passwords since 5.6. That means a single authenticated HTTP request can create a draft, and later in this article, you'll see why the password's spaces are a feature, not a typo.
Why Skip the Plugin for AI Drafts?
A plugin-free AI draft pipeline is a publishing workflow that moves text from an AI content engine into WordPress using only the REST API built into WordPress core, no third-party connector, no extra update surface, no abandoned-plugin risk. The direct answer: because the REST API is already core functionality, not an add-on, and every plugin you install is a second tool you have to maintain.
Think of a plugin like renting a storage unit next to a house that already has a garage. The garage; WordPress's REST API, has been attached to the building since 2017. The storage unit costs you a monthly drive, a separate lock, and a landlord who might stop answering calls when the roof leaks.
Start simple: every plugin adds an update cycle. When WordPress ships a security patch, your plugin has to keep up. If the developer abandons it, a documented pattern across thousands of free plugins, you inherit the risk. Skip the plugin, and the only update schedule you track is WordPress core itself.
Move to intermediate: the REST API endpoint /wp-json/wp/v2/posts accepts a standard JSON body with title, content, and status fields. That's the same structure any modern API uses. If you can send a webhook, you can send a draft.
Now the advanced layer: if you already use an AI content engine that generates finished articles, you shouldn't need a second tool just to move text. The engine should authenticate once, push the draft, and let you review it inside WordPress, no bridge plugin, no Zapier step, no manual copy-paste. BloGoose, for example, publishes directly to WordPress using this exact core API path.
Here's the self-contained answer to "can WordPress accept posts without plugins?" Yes. Since WordPress 4.7, every WordPress site exposes a REST API at yoursite.com/wp-json/. Since WordPress 5.6, every user can generate an Application Password from their profile page. Combine those two core features, and a single authenticated HTTP POST request to /wp-json/wp/v2/posts creates a draft post with your AI-generated title and body. No plugin is installed, no third-party service is required, and the draft appears in your WordPress admin under Posts to All Posts with a "Draft" status label, ready for your review before publishing.
What You Need Before You Start
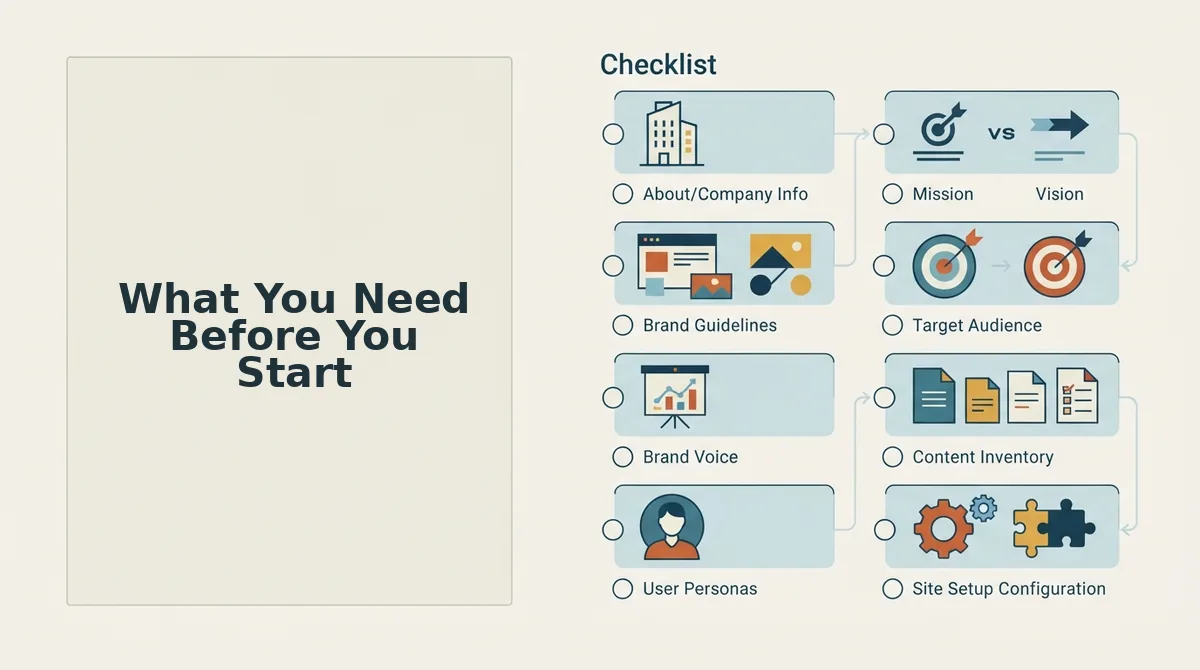
You need three things before sending an AI draft to WordPress without a plugin: a WordPress site running version 4.7 or newer, your site's full URL, and an Application Password generated from your user profile. The direct answer: if your WordPress dashboard loads and you can edit your own profile, you already have everything required.
Here's the self-contained answer to "what are the prerequisites for using the WordPress REST API?" The WordPress REST API requires WordPress 4.7 or later, which shipped in December 2016 and is present on virtually every actively maintained site today. Authentication requires an Application Password, a core feature since WordPress 5.6 that generates a long, space-separated credential tied to a specific user account. You also need the full site URL, including https://, because every REST API request is sent to yoursite.com/wp-json/wp/v2/posts. No plugins, no server configuration changes, and no developer account are required for a standard WordPress installation.
- Confirm your WordPress version. Open your dashboard, click Dashboard to Updates, and check the version number at the top of the page. If it reads 4.7 or higher, and any site updated since 2017 will, you're clear. You should see "You have the latest version of WordPress" or a version number with no red security warning.
- Copy your site URL. Open your site's homepage in a browser and copy the full address from the address bar, including
https://and any subdirectory like/blog. Paste it into a note. This exact string is the base of every API request you'll send. - Generate an Application Password. In your WordPress dashboard, click Users to Profile, scroll down to the Application Passwords section, type a name like "AI Draft Sender" in the "New Application Password Name" field, and click Add New Application Password. WordPress displays a 24-character password with spaces in it, keep the spaces. They're part of the credential, not formatting. You should see the password appear once in a bordered box with a "Revoke" button next to it.
- Store the password securely. Copy the generated password immediately and save it in your password manager or a secure note. WordPress never shows it again after you leave the page. If you lose it, revoke the old one and generate a fresh password, the process takes under 30 seconds.
With your site URL and Application Password saved, you're ready to build the request that creates a draft. If you need a strong credential for any other step in your workflow, a password generator can produce one in seconds. Next, we'll send the draft itself.
How to Send a Draft with the WordPress REST API
You can send an AI-generated draft to WordPress using the built-in REST API, no plugin required. You need a WordPress site running version 4.7 or later, an Application Password (created under Users to Profile), and a tool like curl, Postman, or a script that can make HTTP requests.
Prerequisites
- A WordPress site with the REST API enabled (it is on by default since WordPress 4.7).
- An Application Password generated from Users to Profile to Application Passwords.
- Your site URL and a username with at least Author-level permissions.
- A tool for sending HTTP requests: curl, Postman, or a custom script.
Step-by-Step: Sending a Draft Post
- Open your terminal or API client. You will use the endpoint
/wp-json/wp/v2/postsappended to your site URL, for example,https://yoursite.com/wp-json/wp/v2/posts. - Type your authentication header. Use Basic Auth with your WordPress username and the Application Password you generated. In curl, the flag is
-u "username:application_password". You should see no authentication error when the request completes. - Build your JSON payload. Include
title,content,excerpt, and setstatustodraft. Here is a complete, copy-paste-ready curl example:
curl -X POST "https://yoursite.com/wp-json/wp/v2/posts" \
 -u "your_username:your_application_password" \
 -H "Content-Type: application/json" \
 -d '{
 "title": "Your AI Draft Title",
 "content": "<p>Your AI-generated article body goes here.</p>",
 "excerpt": "A short summary of the draft.",
 "status": "draft"
 }'
After sending the request, you should see a JSON response containing the new post ID, a status field set to draft, and a link to the post in the WordPress admin. If you see a 201 Created response code, the draft was successfully created.
- Upload a featured image first, if needed. Send the image to the media endpoint
/wp-json/wp/v2/mediawith aContent-Dispositionheader and the file as binary data. The response returns anidfield, copy that number. - Reference the image ID as
featured_media. Add"featured_media": 123(using the ID from step 4) to your post payload. The image should appear as the featured image on the draft in your WordPress admin. - Verify the draft in WordPress. Navigate to Posts to All Posts in your WordPress dashboard. You should see your new post listed with a "Draft" status label next to the title.
The only change required to flip a draft to a published post is updating the status field from draft to publish, either in the original payload or via a POST request to /wp-json/wp/v2/posts/{id} with {"status": "publish"}. If you are working with large JSON payloads, a JSON formatter helps you validate structure before sending.
When you send a POST request to /wp-json/wp/v2/posts with a JSON body containing title, content, excerpt, and status set to draft, WordPress creates a new post in draft status without publishing it. The response includes a unique post ID, a permalink, and a status field confirming the draft state. To attach a featured image, you first upload the file to /wp-json/wp/v2/media, capture the returned numeric id, and include that value as featured_media in your post payload. Changing status to publish in a subsequent request is the only modification needed to take the draft live.
Draft to Publish and When a Plugin Still Makes Sense
The REST API approach gives you a draft-first editorial workflow: your AI content lands as a draft, a human reviews it, and one field change, status from draft to publish, takes it live. Plugins add a GUI layer on top of the same API, which matters more for some teams than others.
Plugins like WP REST API controllers or content-sync tools genuinely help when you need custom post types, advanced field mapping, or scheduled batch publishing without writing any code. They also handle authentication UI, retry logic, and logging, things you would otherwise script yourself. The REST API is not inferior; it is simply lower-level.
| Factor | REST API (No Plugin) | Plugin |
|---|---|---|
| Setup time | ~10-15 minutes (Application Password + one curl test) | ~5 minutes (install, activate, configure) |
| Technical skill required | Basic HTTP and JSON knowledge | Minimal. GUI-driven |
| Custom fields and post types | Manual JSON mapping per field | Often built-in or visual mapping |
| Multisite support | Works per-site with per-site credentials | Varies by plugin; some handle network-wide |
| Ongoing maintenance | None beyond WordPress core updates | Plugin updates and compatibility checks |
| Draft-first workflow | Native via status: draft |
Depends on plugin defaults |
Best for developers and technical SEO leads: the REST API. You control the exact payload, avoid plugin bloat, and can integrate directly into your AI content pipeline. Best for non-technical content managers: a plugin. The visual interface removes the HTTP learning curve and handles edge cases like media uploads and field mapping automatically. Best for multisite or agency teams: evaluate per plugin, some handle network-wide credentials better than raw API calls.
If you want the draft-first workflow without maintaining the API integration yourself, BloGoose pricing includes automated draft delivery to WordPress, the platform handles the API calls, media uploads, and status management so your team only reviews and publishes.
When deciding between the WordPress REST API and a plugin for sending AI drafts, the core tradeoff is control versus convenience. The REST API requires basic HTTP and JSON knowledge but gives you a transparent, dependency-free pipeline where changing status from draft to publish is the only step between review and go-live. Plugins wrap the same API in a visual interface, which helps non-technical users, teams with complex custom fields, or multisite networks that need centralized credential management. Neither approach is objectively faster or cheaper in all cases, the right choice depends on who on your team will operate the publishing workflow day to day.
FAQ: Sending AI Drafts to WordPress Without Plugins
Direct answers to the most common questions about pushing AI content to WordPress using only built-in tools.
Do I need a plugin to send AI drafts to WordPress?
No. WordPress includes a REST API in core since version 4.7, and it supports creating draft posts at /wp-json/wp/v2/posts with a simple HTTP request. No plugin installation is required for basic draft creation, content updates, or publishing.
How do I authenticate with the WordPress REST API without a plugin?
Use Application Passwords, a native WordPress feature found under Users to Profile. Generate a password, then send it with your username as Basic Auth in the request header. This works without any third-party authentication plugin.
Can I send drafts instead of published posts via the REST API?
Yes. Set "status": "draft" in your JSON payload when creating the post. The post appears in your WordPress admin under Posts with a Draft label. Change the field to "status": "publish" to take it live later.
What is the difference between the WordPress REST API and XML-RPC?
The REST API is JSON-based, modern, and enabled by default on current WordPress versions. XML-RPC is an older XML-based protocol that many hosts disable for security reasons. For AI content workflows, the REST API is the recommended choice.
Why does my REST API request return a 401 error?
A 401 means authentication failed. Check that your Application Password is correct, that your username has Author or higher permissions, and that you are using Basic Auth with the format username:application_password, not your regular login password.
Can I send a featured image with my AI draft via the REST API?
Yes, in two steps. First upload the image to /wp-json/wp/v2/media, which returns a numeric ID. Then include that ID as "featured_media" in your post payload. The image attaches to the draft automatically.
The API call is the whole workflow
One curl request replaces the 12-tab copy-paste loop you have been running between your AI tool, your editor, and WordPress. The Application Password takes two minutes to create. The working request from Section 4 is copy-paste ready. That is the entire pipeline.
What changes when you remove the plugin is not just speed. It is control. You decide exactly which fields get populated, when drafts go in, and what status they carry. No plugin update can break your flow because there is no plugin.
Here is the tiered path forward:
- Start now: Create an Application Password and send one draft using the curl request from Section 4. Two minutes, one terminal window.
- Scale manually: Wrap that request in a small script or Zapier step for batch draft uploads.
- Automate fully: BloGoose handles the entire draft-to-WordPress flow, crawling your site, learning your voice, drafting, and publishing, without you touching an API key. Check the BloGoose docs for the exact setup path.
The open loop from the start resolves cleanly: you do not need a plugin, a middleware service, or a developer to get AI drafts into WordPress. You need one authenticated endpoint and a willingness to send the request.
WordPress is already an API, the only missing piece was treating it like one.