How to Send Google Indexing Pings After Auto Publishing
Your article publishes to WordPress on schedule, and then someone on the team still opens Search Console, pastes the URL, and clicks Request Indexing by hand. That one manual step undoes much of the value of automated publishing.
The demand for a fix is clear. A Josiah Roche video showing a manual "under 2 minutes" method has 137,742 views. That number shows how many publishers want this solved. It says nothing about how fast Google responds.
Waiting on a human click is wasted effort. This guide shows you how to send google indexing pings after publishing automatically, so a crawl request goes out the moment a post goes live. In BloGoose, an article publishes to WordPress and the crawl request fires on its own, with no Search Console tab involved.
You will learn which signals Google still accepts, how to set them up step by step, and why a ping asks for a crawl but never guarantees indexing. You will also see one ping signal Google stopped accepting that most WordPress tutorials still recommend. For the broader discovery strategy, start with how to get Google to discover new posts.
How Do I Notify Google Automatically After Publishing a Blog Post?
Update your XML sitemap with an accurate lastmod date every time a post publishes. If your content type qualifies, also send an Indexing API notification through a verified service account. Both are crawl requests, not indexing guarantees. Google still decides whether the page earns a spot in its index.
A Google indexing ping is an automated notification that tells Google a URL is new or changed and worth recrawling. Think of it as ringing a doorbell: Google hears you, but the homeowner still decides whether to let you in.
Signal vs. Verdict
| Signals you control | Verdicts Google controls |
|---|---|
| Sitemap lastmod date | Content quality |
| Indexing API call | Canonical selection |
| Manual Request Indexing | Duplication and noindex handling |
Which ping methods still work?
| Method | Google support | Automation | Quota | Best use |
|---|---|---|---|---|
| Sitemap lastmod | Supported | Full | None | Baseline for every post |
| Indexing API | JobPosting and BroadcastEvent only [verify] | Full | Check in the Google Cloud console [verify] | Eligible pages |
| Sitemap ping endpoint | Retired in 2023 [verify] | None | N/A | Remove it |
| IndexNow | Not used by Google [verify] | Full | N/A | Other search engines |
That retired sitemap ping endpoint is the signal most WordPress tutorials still recommend. Google retired the endpoint in 2023 [verify on Google Search Central], so a plugin that "pings Google" this way sends a request nobody reads. The working replacement is simpler: keep your XML sitemap current, set lastmod (the date a page last changed meaningfully) accurately, and let Googlebot fetch it on its normal crawl. Treat the Indexing API as an extra signal, and remember that Google officially documents it only for JobPosting and BroadcastEvent pages [verify]. Using it for regular blog posts sits outside that documented scope.
Prerequisites
- A verified Search Console property for your domain
- An XML sitemap that updates lastmod at publish
- A Google Cloud project with a service account (a non-human Google identity that authenticates API calls)
Crawl signals get a page discovered. Structure and clarity get it quoted, which is why BloGoose pairs publishing with formatting built to get cited in AI answers.
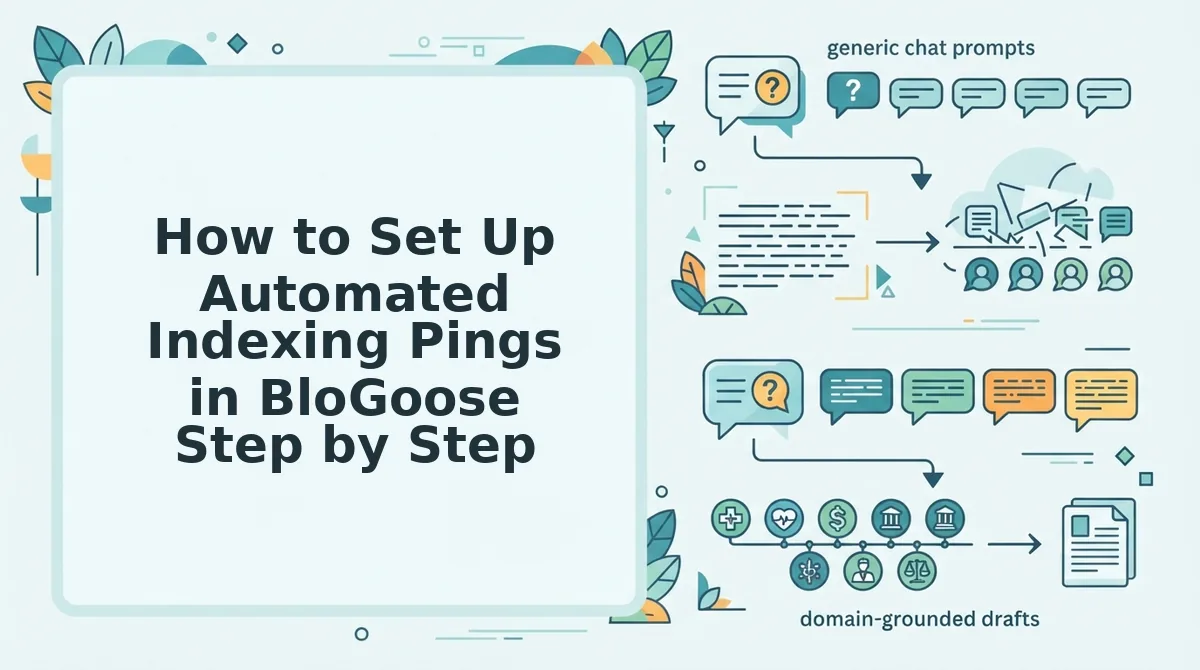
How to Set Up Automated Indexing Pings in BloGoose Step by Step
Connect a Google Cloud service account to BloGoose once. After that, every publish triggers a crawl notification and updates your sitemap lastmod automatically. Before you start, have Owner access to your Search Console property, access to the Google Cloud console, and a BloGoose site with publishing connected.
- Create a Google Cloud project and enable the Indexing API (about 5 minutes). Open the Google Cloud console, create a new project, then search the API Library for the Indexing API and click Enable. The API should now appear as enabled in your project.
- Create a service account and download its JSON key (about 5 minutes). Go to IAM and Admin, then Service Accounts, and create a new account. Open its Keys tab, add a new key, and choose JSON. A .json file downloads to your computer. Store it securely, because it grants API access.
- Add the service account as an Owner in Search Console (about 2 minutes). Copy the client_email value from the JSON file. In Search Console, open Settings, then Users and permissions, add that email, and set it to Owner. The service account should now appear in your user list with Owner permission.
- Connect the credentials in BloGoose (about 3 minutes). Follow the Google indexing setup docs to add your JSON key to your site settings. BloGoose confirms the connection once the credentials are validated.
- Publish to WordPress or your custom API. The publish event triggers the notification while your sitemap lastmod updates. The sitemap remains your baseline signal, and the API call adds a request on top, within its documented scope for JobPosting and BroadcastEvent pages [verify].
Headless sites get the same treatment. When an article ships through the custom API publish path, BloGoose fires the same post-publish notification as it does for WordPress, so a decoupled frontend is not left out.
No prompt chaining and no manual Search Console tab are required. The AI SEO content engine plans your calendar, writes in your brand voice, publishes, and pings in one flow.
A sent ping is only half the job, so next you need to confirm it worked.
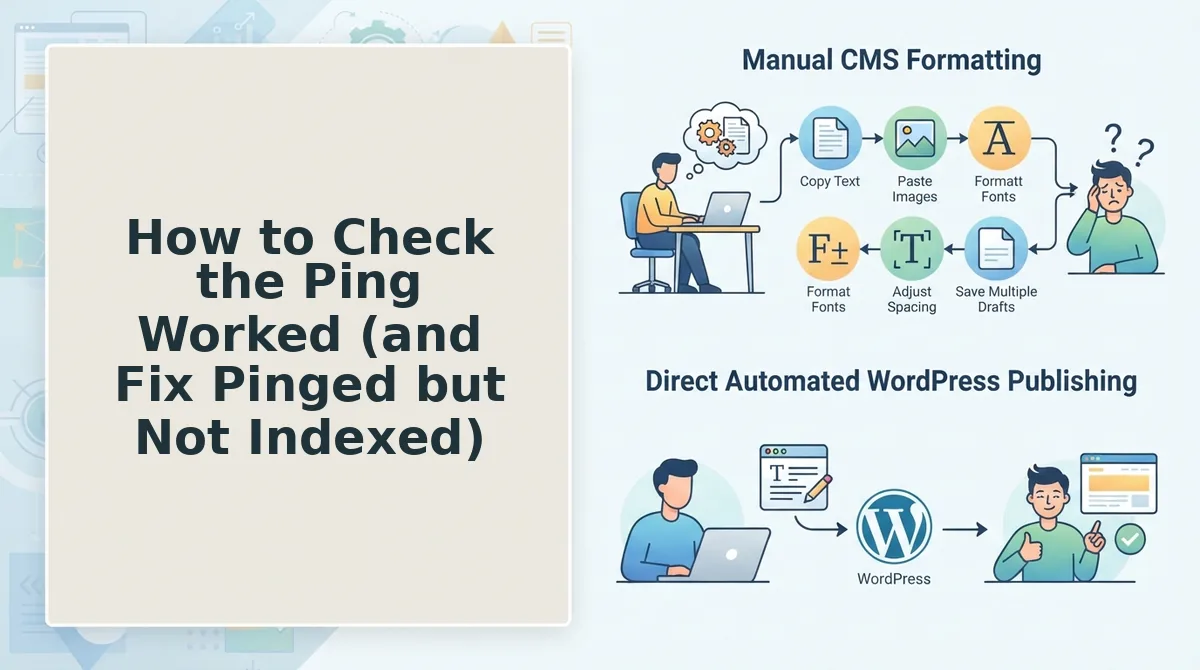
How to Check the Ping Worked (and Fix Pinged but Not Indexed)
A ping worked when URL Inspection shows a crawl dated after your publish time. It fully succeeded only when the report reads "URL is on Google." Crawled means Googlebot fetched the page, while indexed means Google chose to store it so it can appear in results.
- Run URL Inspection on the live URL. Paste the published URL into Search Console and click Test Live URL. This confirms Google can fetch the page as it exists now, not an older version.
- Read "Last crawl" and "Crawled as." A timestamp after publishing shows that Googlebot visited the page. "Crawled as" confirms that the smartphone crawler, which mobile-first indexing relies on, saw the page.
- Check the Page indexing report. This report groups URLs by status across your whole site. Review it weekly to catch patterns across a cluster instead of one post at a time.
- Confirm the sitemap shows the new lastmod. Open the Sitemaps report and compare "Last read" to your publish time. A later date means the updated lastmod reached Google alongside the ping.
- Ask "Was it crawled?" If not, fix access. Check robots.txt, your crawl budget, and whether the URL appears in the sitemap. No ping can override a blocked or unlisted page.
- Ask "Was it indexed?" If not, fix quality. Look for canonical URL mismatches, a stray noindex tag, or thin or duplicate content. Our guide to crawled but not indexed new posts covers each fix.
What should you do when a pinged post stays "Crawled, currently not indexed"? First, confirm the canonical tag points to the post itself, not to a category page or a parameter URL. Next, view the page source for a robots meta noindex left over from a staging template. Then look for thin sections, such as H2s with a single sentence or passages that repeat a sibling post. Revise those gaps, republish so the sitemap lastmod updates, and click Request Indexing again.
Tools that promise "indexed in 1 minute," as one IndexerGoogle video claims, can at best speed up the crawl. They cannot change the verdict, so a faster fetch of a weak page only reaches crawled-not-indexed sooner.
Indexing Ping FAQ
These answers cover re-pinging, rankings, and IndexNow, three questions the steps above leave open.
How often should I re-ping a published post?
Re-ping a post only after a meaningful content update, and pair the ping with a new sitemap lastmod. Repeated pings on an unchanged page waste quota and do not change Google's verdict. Resolve every issue you checked before requesting indexing, and then send one fresh signal.
Does an indexing ping help rankings?
No, an indexing ping affects crawl timing, not rankings. It tells Google that a URL is new or changed, so Googlebot may visit sooner. Where the page ranks afterward depends on relevance, quality, and links, which are the same factors that apply to every crawled page.
Should I still send IndexNow pings?
Yes, send IndexNow pings for Bing and other participating engines, but Google does not use the protocol. Run IndexNow alongside your sitemap and Google notifications rather than in place of them, because each method reaches a different set of search engines.
Automate the Signal, Earn the Verdict
Automation controls the signal, and content quality decides the verdict. That is the finding the intro promised: a ping changes when Google looks at a page, never what Google concludes about it.
Keep your sitemap lastmod accurate as the baseline, and add Indexing API notifications only where they fit the API's scope. Verify every post with URL Inspection. When a page stalls, fix the canonical, noindex, or thin sections before you re-ping.
Start your BloGoose autopilot content calendar so drafting, publishing, and pings run in one flow. Then spend the hours you save on the one thing no tool can automate: pages worth indexing.