How to Find Noindex Errors on Newly Published Blog Posts
You hit publish, wait a day, then search the exact title of your new post. Nothing comes back, not on page one and not anywhere else.
If that sounds familiar, you are in good company. Most people first spot the cause in Search Console as a blunt label: "Excluded by noindex tag." That label is the usual entry point for diagnosing noindex errors on new blog posts, often after the post has sat invisible for days.
This guide gives you a layered diagnostic instead of a one-toggle fix. You will check four layers in order: the meta robots tag, the X-Robots-Tag header, your CMS and plugin settings, and your theme and template logic.
Along the way, you will see why the setting people miss most often never appears in your HTML. Once the post is clean, follow our guide to get Google to discover new posts faster.
How do I find out if my new blog post has a noindex tag? Run three checks. View the page source and search for "noindex" in the meta robots tag. Inspect the HTTP response headers for an X-Robots-Tag. Then run URL Inspection in Search Console and confirm that it reports indexing as allowed.
What Is a Noindex Error and What Do You Need Before Checking?
A noindex error is a directive that tells search engines to keep a page out of their index, so the page can be crawled but never ranked. Before checking, you need Search Console access, the live URL, a browser with dev tools, and CMS admin access.
Think of noindex as a "do not shelve" sticker on a library book. The librarian can read the book, but it never reaches the shelves.
- Meta robots tag is a line in the page's HTML head that gives crawlers page-level instructions, such as noindex.
- X-Robots-Tag is an HTTP response header, which is data the server sends before the page itself, that carries the same instructions outside the HTML.
- "Excluded by noindex tag" is the Search Console status for a URL that Google crawled and found carrying a noindex directive.
Noindex can travel in two transport layers: the HTML or the HTTP response. Google honors both, so the sticker can sit on the book or on the box it shipped in.
Your expected outcome is either a confirmed indexable post or a known layer to fix. For the full syntax of each directive, see our robots meta tag reference. If BloGoose publishes your posts to WordPress or a custom API, run these checks on the first post it ships.
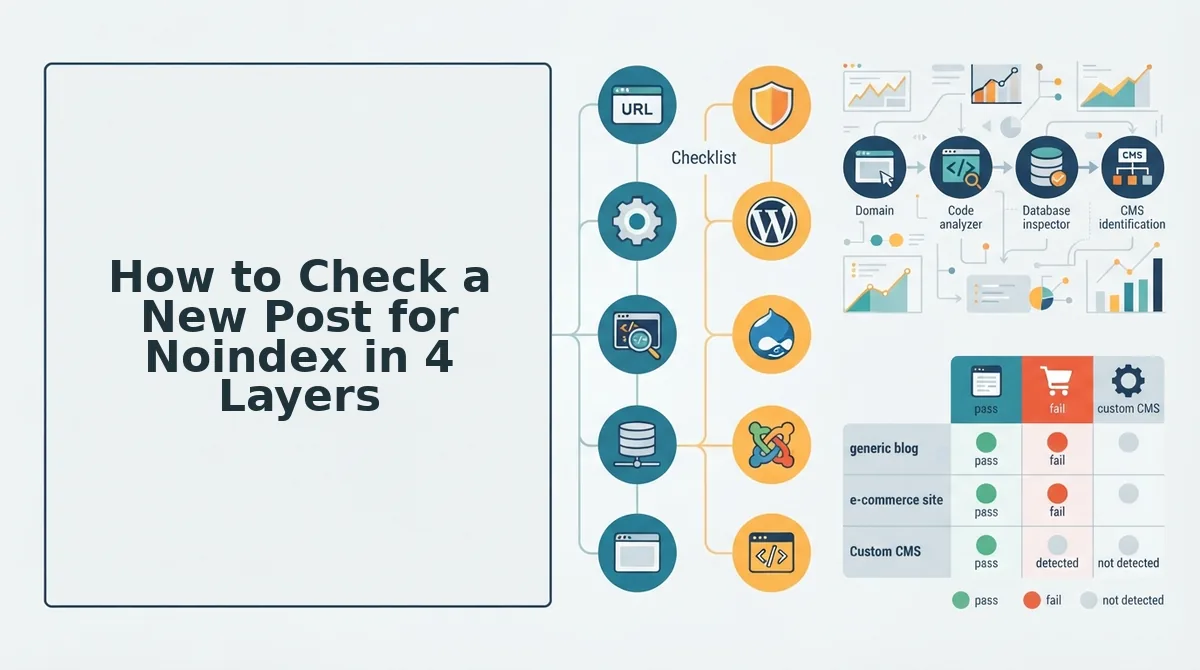
How to Check a New Post for Noindex in 4 Layers
Run three quick checks first, then audit four layers: meta robots, X-Robots-Tag, CMS and plugin settings, and theme templates. The quick checks take about five minutes.
To check a new blog post for noindex, open the live URL in a browser with dev tools and log in to Search Console. Then:
- View the source. Right-click the page, choose View Page Source, and search for "noindex." If no meta robots line contains it, the HTML layer is clean. This takes about 1 minute.
- Read the response headers. Open dev tools, select Network, reload, click the first document request, and scan Response Headers for X-Robots-Tag. If no noindex value appears, the header layer is clean. This takes about 2 minutes.
- Run URL Inspection. Paste the URL into the Search Console search bar and read "Indexing allowed?" A "Yes" means Google sees no block. This takes about 2 minutes.
| Layer | Where it hides | How to check | How to fix |
|---|---|---|---|
| 1. Meta robots | HTML head | View source | Remove the directive at its source |
| 2. X-Robots-Tag | HTTP response header | Dev tools Network tab | Edit server, CDN, or plugin header rules |
| 3. CMS and plugin | Site settings, per-post toggles | Settings screens, post editor SEO panel | Set the post and site to index |
| 4. Theme and template | Template conditionals, staging flags | Compare template output and config | Remove hardcoded or environment-based noindex |
Here's where it gets tricky: the X-Robots-Tag never shows in view-source because the server sends it before the HTML. A post can pass check one and still be blocked.
Check CMS and Plugin Settings
- WordPress: Go to Settings, then Reading, and confirm "Discourage search engines from indexing this site" is unchecked.
- Yoast and Rank Math: Open the post editor, expand the advanced robots options in the SEO panel, and confirm the post is set to index.
- Blogger: Go to Settings, then Crawlers and indexing, and review the custom robots header tags for posts.
Success looks like every control set to index, with no site-wide override.
Check Theme and Template Logic
Staging sites often noindex every page, and that flag can carry over to production at launch. Search your theme and environment config for noindex rules tied to a staging condition.
Also check whether archive or tag templates are leaking their noindex directive into the single post template.
Worked Example: Tracing the Layer
Say you publish a post, search its exact title, and get nothing. Run URL Inspection: if it reports that noindex was detected, note whether the source is the robots meta tag or the X-Robots-Tag header.
A header hit points to layer 2. A meta tag hit with no toggle enabled points to layer 4. If no noindex appears anywhere, check for canonical tag conflicts, a related cause of exclusion.
Once you know the layer, decide whether the exclusion needs fixing at all.
Is Excluded by Noindex Always a Problem?
No. "Excluded by 'noindex' tag" only signals an error when the URL is meant to rank, such as a new blog post. Many other URLs on that list are hidden on purpose, and they should stay hidden.
Sort the Excluded list by URL type before you change anything:
| URL type | Is the noindex usually intentional? | Action | Best for |
|---|---|---|---|
| Blog posts | Rarely | Remove the noindex and recheck | Fix these first. They matter most to publishers whose new posts are missing from search. |
| Tag, author, and date archives | Often | Leave them as they are, unless an archive works as a curated landing page | Site owners who deliberately keep thin or duplicate archives out of the index |
| Thank-you, login, and internal search pages | Yes | Keep them noindexed | Every site, because these pages have no search value |
Hiding archives is a reasonable default, because they often repeat content that already lives on your posts. If you remove the noindex from archives you meant to hide, you add thin pages to the index and waste crawls on URLs that compete with your own articles.
Noindexed pages that are still linked across the site cost crawl activity too. Read how crawl budget affects new URLs before you add more pages to the index. BloGoose's setup wizard reads your XML sitemap and published pages, so you can see which URL types your site actually ships.
How to Confirm the Fix Worked and Request Indexing
To confirm the fix, remove every noindex source in a set order, run a Live Test in URL Inspection, and request indexing only after the test passes. You will need Search Console access, your robots.txt file, and admin rights in your CMS.
Why does noindex still show after I removed it? There are two common reasons. First, Google cannot read a noindex tag on a URL that robots.txt blocks. A blocked page can stay in a confusing state because Googlebot never fetches the HTML that would show the tag is gone. Second, Search Console reports what Google found on its last crawl, so the old status remains until Google recrawls the page. Google Search Central's video on noindex "not working" covers this same robots.txt conflict. To avoid it, unblock the URL first and then let Google fetch a clean version of the page.
- Open robots.txt and delete any Disallow rule that matches the post path (2 minutes). The URL should now be allowed when you test it.
- Check the HTTP response headers in your server or CDN settings and remove X-Robots-Tag: noindex (5 minutes). The response should no longer contain that header.
- View the page source and delete the robots meta noindex tag (2 minutes). Searching the source for "noindex" should return nothing.
- Open the post settings in your CMS and turn off the toggle that hides the post from search engines (1 minute). The setting should now show the post as indexable.
- Click Test Live URL in URL Inspection (1 to 2 minutes). You should see "Page can be indexed."
- Click Request Indexing. Review what to check before requesting indexing first.
Pro tip: Do not request indexing before the fixes are in place. If you do, Google uses that crawl on a page that still says noindex.
Now the part that keeps it from happening again: a 60-second check to run after every post goes live.
- Confirm the live URL returns a 200 status code.
- Confirm the page source has no noindex tag.
- Confirm the response headers have no X-Robots-Tag.
- Run a Live Test in URL Inspection.
Try it on your next scheduled post as soon as it publishes. Then ask Google to crawl new posts via the Indexing API. Because BloGoose publishes straight to your CMS, these checks run against the page that actually went live.
Make Noindex Checks Part of Every Publish
Most noindex errors on new posts come from forgotten settings that nobody checks after publishing. A short routine catches them before you lose weeks of visibility. The X-Robots-Tag is the layer people miss most often, because it never shows up in the page source.
- Run the 60-second checks on every new post: status code, meta tag, headers, and Live Test.
- Triage before fixing. Fix blog posts, and leave intentionally hidden archives and utility pages alone.
- Follow the fix order: robots.txt, header, meta tag, CMS toggle, Live Test, then request indexing.
If a post passes every check but still isn't indexed, read the guide on crawled but not indexed new posts.
Your next step is to add your domain to BloGoose's setup wizard. BloGoose publishes straight to WordPress or a custom API, so your checks always run on the live URL. Once your posts are indexed, work on getting cited in AI answers.